Accessing VMFS datastore
For data recovery purposes it's required to provide direct disk access to the investigated disks. Such conditions can be achieved by:
- connecting VMFS disk as a local hard drive,
- connecting remotely via iSCSI,
- connecting remotely via SSH,
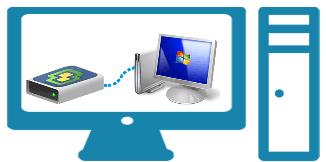
- recovering data from datastore with another Windows VM
Please note that ESX recognizes only VMFS partitions and we are unable to save to VMFS disks directly. Thus recovered data should be either transferred via network or saved to a local hard drive with further upload via standard vSphere. These transfers are normally time-consuming because of the large amount of recovered data and slower network transfer speed. You need to take this operation into account when estimating recovery time.
VMFS drive as a local disk in dedicated Windows PC
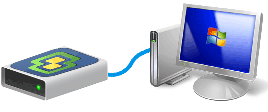
This is the most recommended method for data recovery. We recommend connecting all HDDs with datastores to a dedicated Windows PC in order to gain access to VMFS partitions. This is the most robust way to obtain direct disk access and it has the highest speed of data transfer.
RAID disks, iSCSI storage, and NAS devices with VMFS partitions
If there is no issue with RAID disks or controller, the array can be also moved to a dedicated Win PC to process recovery. If iSCSI or NAS has no errors and you are sure there is no issue with them they could be connected\configured to allow access to VMFS datastore for Windows OS where the recovery process is executed.
However, if you have any doubts that RAID\iSCSI\NAS integrity is compromised, you need to either connect HDDs\SSDs to Windows PC directly as standalone single drives or create disk images of these drives, also as individual disks, not as an image of RAID storage and mount these images to VMFS Recovery™.
iSCSI connection
Main advantage of the iSCSI interface over SSH is speed. In our tests, SSH is able to achieve 10% of the network's maximum throughput, and iSCSI uses 50-60% of bandwidth. 5-20Tb datastores are common nowadays, thus iSCSI could spare you weeks of recovery time. It's easy to connect to the datastore if it's located on a separate NAS which has native iSCSI support. However, it's also possible to connect to a standard ESX server with the following trick. The basic idea is to create a Linux guest machine, allow it to use ESX's datastore by mapping the RDM disk, and start the iSCSI target on this Linux VM. All that's left is to set up the iSCSI initiator on the Windows recovery machine, add the iSCSI disk to the system and you are ready to recover. More details and instructions are here.
Naturally, such a setup is not for cases where datastore is saved on a file server or NAS with built-in iSCSI support. In this case, just establish a link to the required datastore using Microsoft iSCSI initiator.
SSH connection
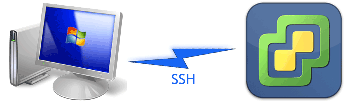
We don't recommend using SSH for VMFS disks, as SSH protocol works about 30 times slower than direct connection for a single disk. We recommend using SSH with Uneraser mode to estimate approximate recovery results unless there is no other way to access SSH.
Please see corresponding section for more details and tips.
Boot ESX server using spare HDD with Windows OS
Depending on your case and system configuration, it's possible that there is a sense to connect the spare HDD with Windows and boot the ESX server from it. In this case, all VMFS disks became local and the recovery process can be run.
Using Raw Device Manager
More sophisticated variant of the previous method. You can use a VM running on the same ESX server where lost data is. To configure VMFS disk as local to guest OS, please follow this guide.
USB adapters and racks for external HDDs
USB adapters or HDD racks are also out of our recommendation. We had a lot of negative experiences when the USB adapter read the HDD incorrectly and prevented successful recovery. A lot of them have a low build quality that affects recovery much more often than anyone would expect.
Server racks for HDDs are normally out of this complaint. Just make sure no issue may affect results.
If you don't have enough ports to connect all disks from the array simultaneously, consider using the "Create Image" and “Mount Image" commands to place several disk images from RAID on a single HDD with a larger capacity.
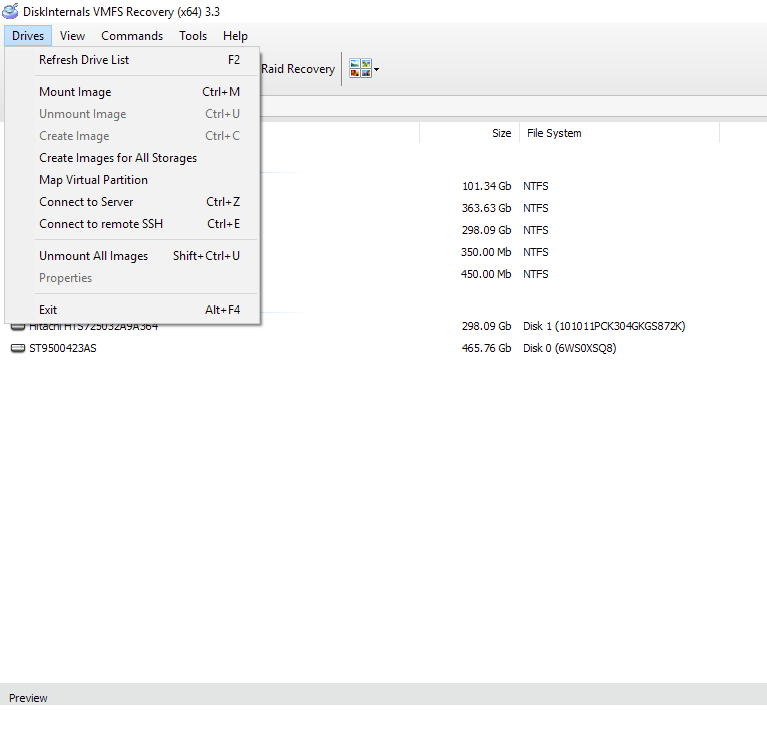
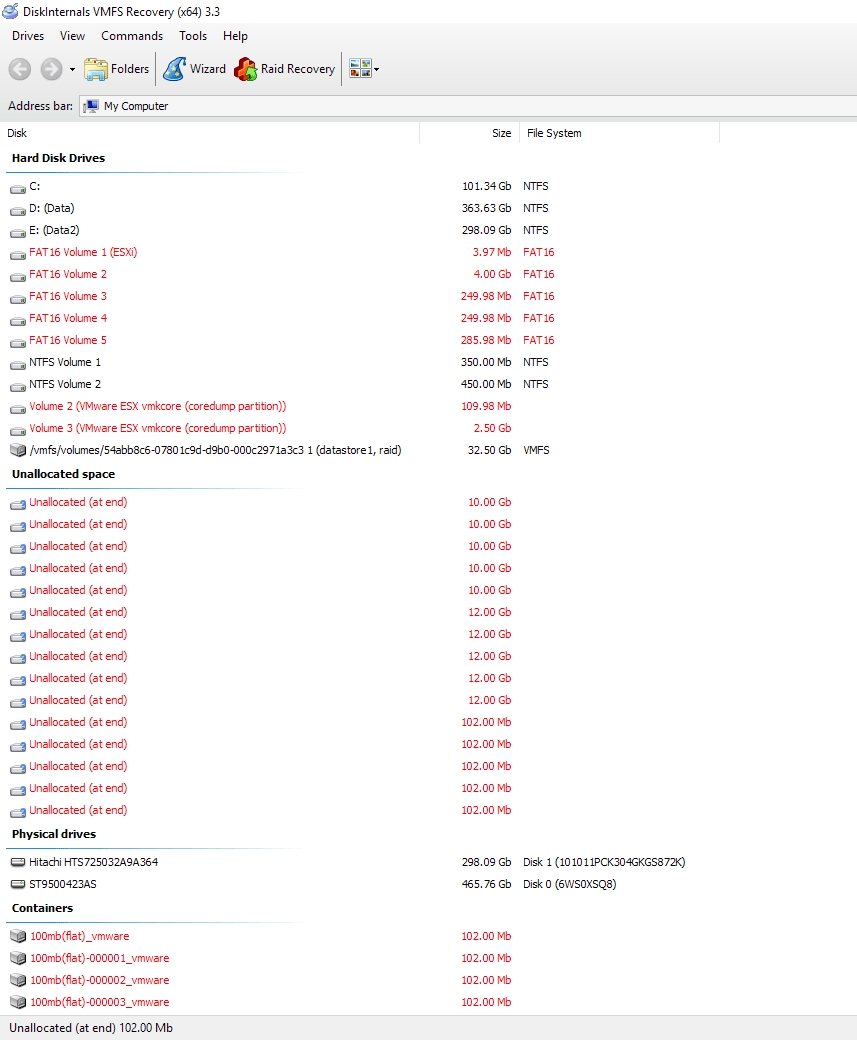
After everything is set up, start the software and wait until all disks and arrays(if present) are detected. You should see a disk list and the Raid Wizard will start automatically. I suggest you close it for now and check the disk list first. It is also recommended to switch to the "Details" view to see more information about present disks.
During the launch we try to detect all known arrays that have structure information and if they have no issues they should be recognized and rebuilt automatically. If the RAID disk doesn't have structure information on its disks (some controllers store it within its RAM) or the array is corrupt, in this case, RAID should be reconstructed with RAID Wizard.
Normally such RAID failures like a broken controller, crashed NAS power adapter, the server shut down because of overheating, or simple movement of the array to another computer has a good chance to be detected and reconstructed automatically during launch. So check if the disk list has required partitions. They should be available in the “Hard Disk Drives" section.
Same deal for any single disk volumes. You can just open the required partition in the “Hard Disk Drives" section and browse for required data.
Please refer to RAID Disks section below to learn more about how to use RAID wizard to reconstruct an array.