How to connect to ESX Server using SSH (SFTP)
Contents
- System configuration of the test server
- Outdated ESX versions
- ESX server set up. Enabling SSH
- Establishing SSH connection and mounting VMFS disk in VMFS Recovery™
- Recommendations, performance issues and hints
System configuration of the test server
An ESX server v.6.5 is running as a guest inside a VM to ease testing, simulation, and display of various hardware configurations. There are two virtual hard drives provided to host the ESX server: 20Gb and 10Gb. VMFS volume created by ESX resides on both disks combining the set of two disks in a JBOD dynamic disk.
Outdated ESX versions
Please be advised that the ESX server has got the full support of SSH and SFTP since version ~5. Despite declared SSH and SFTP support in earlier ESX v.4.3 (SSH only) and ESX v.4.7 (SSH + SFTP), we recommend updating the ESX 4.x version to ESX 5.0 before establishing an SSH connection because of stability and performance issues.
ESX server set up. Enabling SSH
By default SSH is disabled on the ESXi server because of security reasons. Therefore you need to enable it if you haven’t done it before.
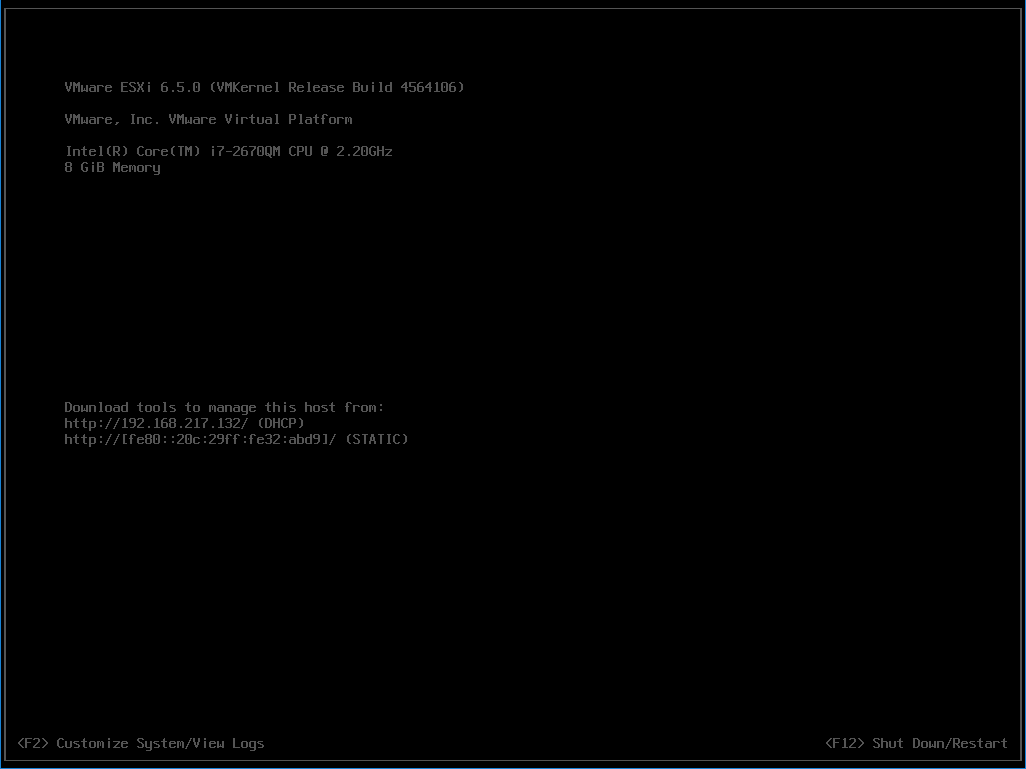
To do it, open the ESX server and press F2 to proceed to its options.
Enter the user name and the password to authenticate.
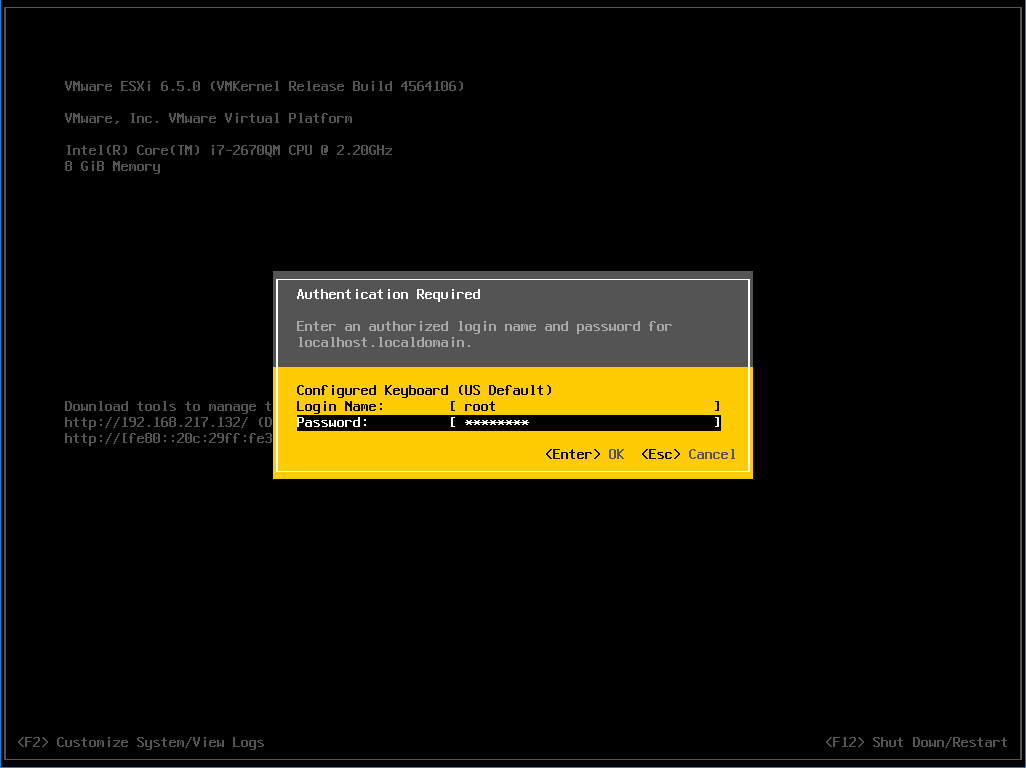
Select “Troubleshooting options” from the list and press Enter.
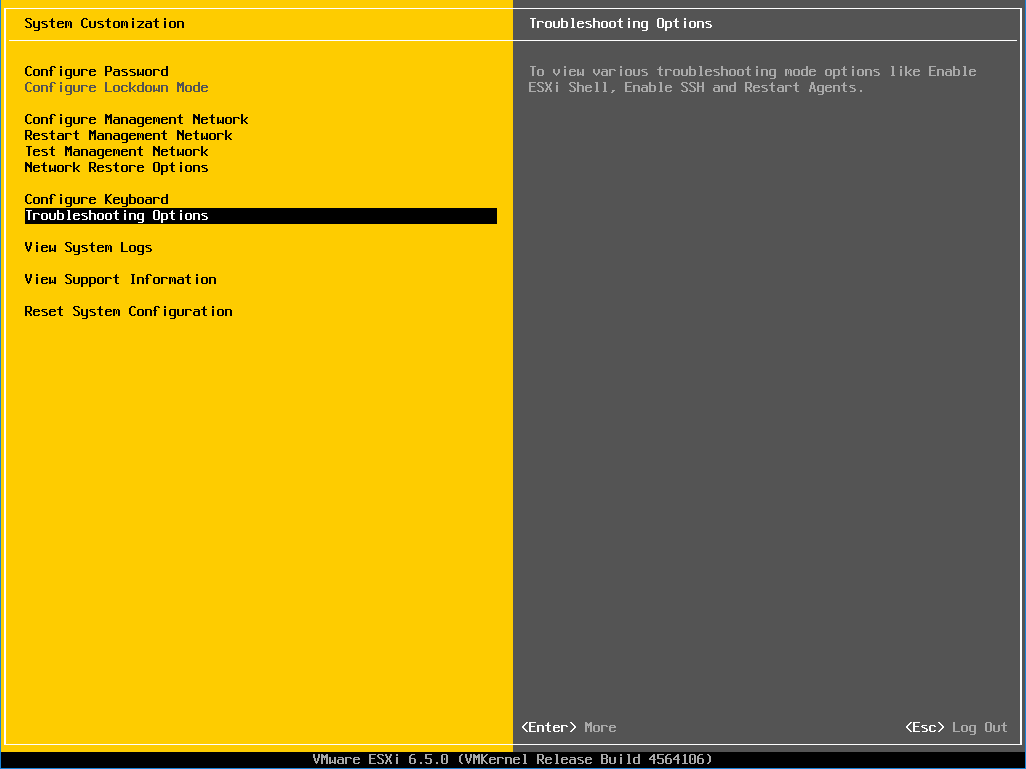
Check the status of SSH at the “Disable SSH” option and make necessary changes if required.
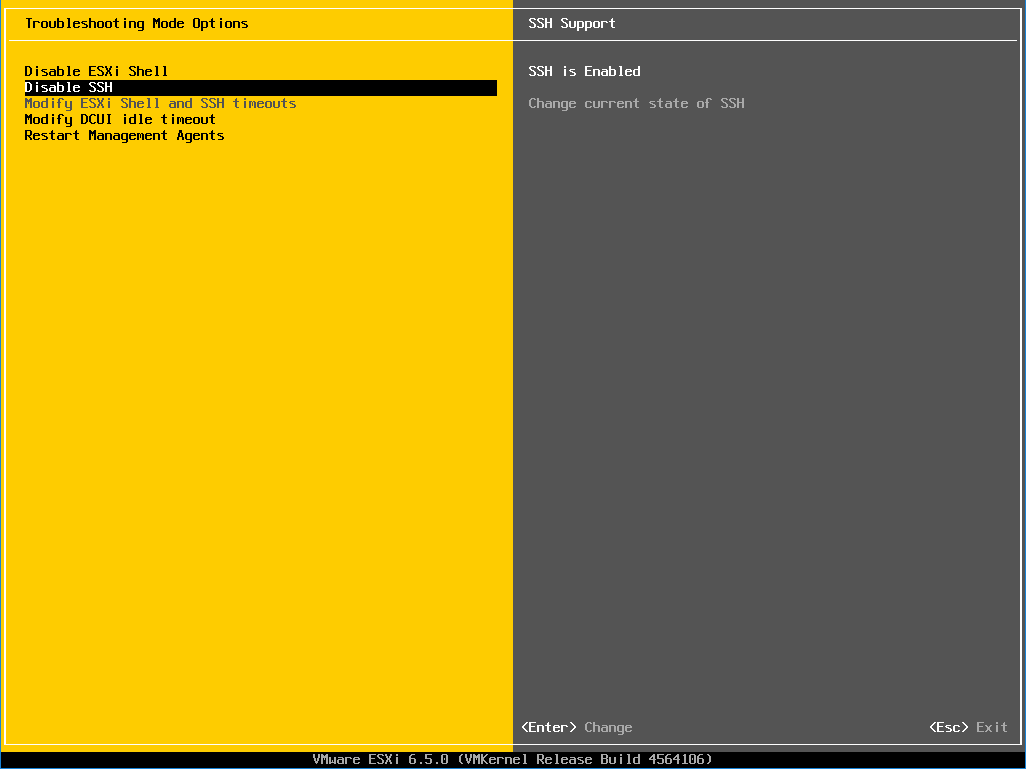
Now your ESX server is ready to accept SSH connections.
Establishing SSH connection and mounting VMFS disk in VMFS Recovery™
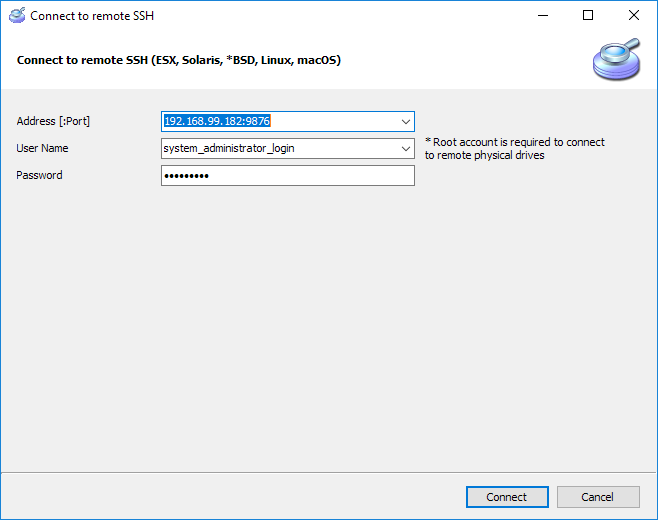
Return to the Windows PC where VMFS Recovery™ is installed, run it, and go to "Drives->Connect to remote SSH" option. As an alternative, you can press CTRL+N on the keyboard.
Enter IP of ESX server to "Address [:port]" field, add port value after IP if you are using another port that is set by default. The default value for the SSH port is 22.
Fill in "Username" and "Password" values and click "Connect" button to proceed.
If SSH connection to ESX server is successful you will see the following screen with mode selection:
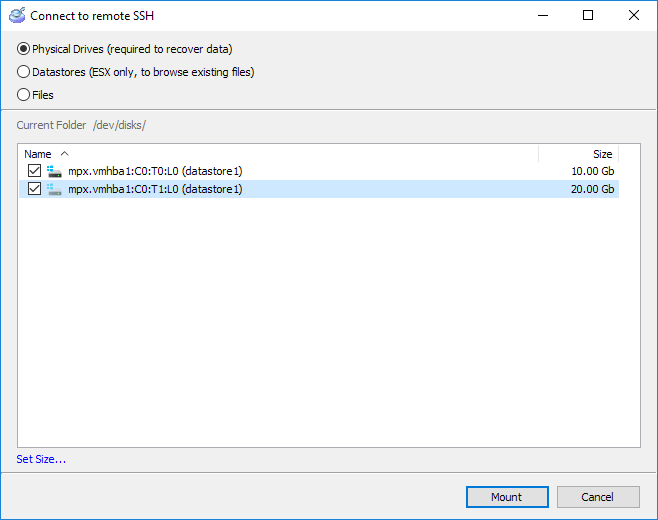
Please note that you should select the “Physical Drive” option for all data recovery purposes. Only direct access to the physical drives allows unerasing VMDK files, reading corrupt disk sectors, and reconstructing corrupt VMFS file system.
If your VMFS disk is a joined disk of several physical drives, in this case, you need to select all physical drives that host VMFS volume. This allows VMFS Recovery to build correct JBOD disk and display correct results. The screen above is exactly this case. VMFS volume is located on a JBOD disk that consists of 2 disks 20Gb and 10Gb.
Here is another illustration of the spanned VMFS volume. There are 4 disks 10GB each:
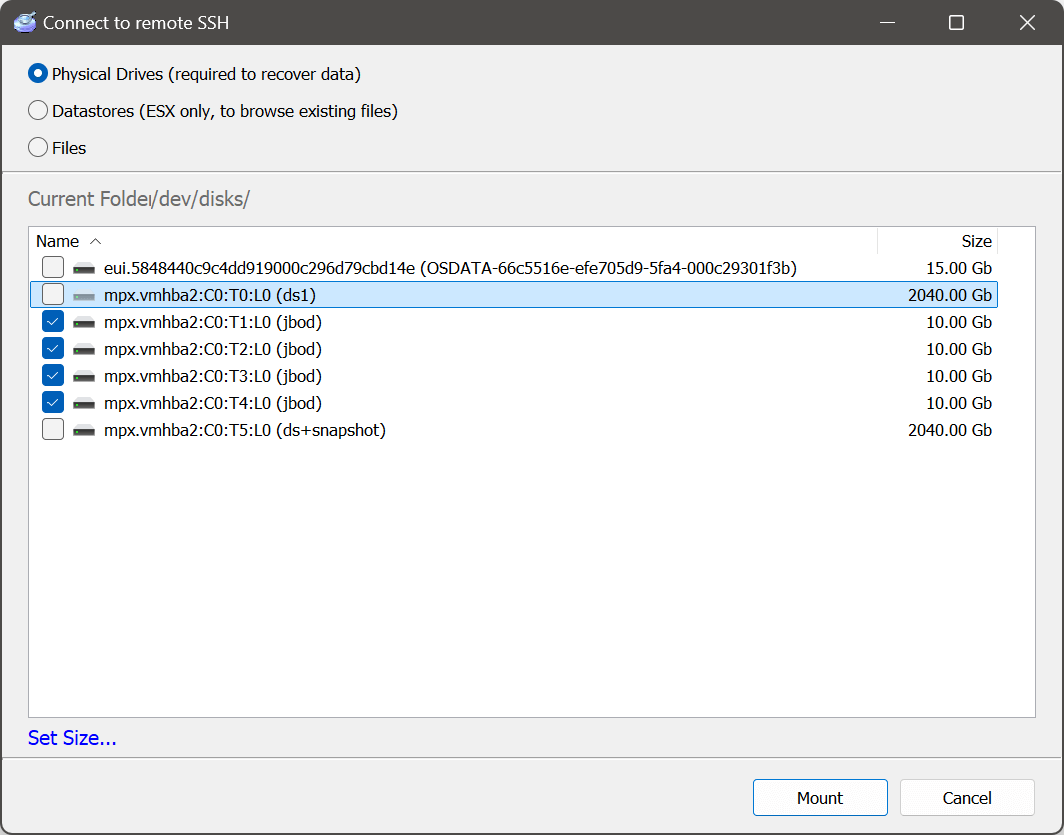
If you are using a hardware RAID disk or iSCSI NAS storage, both physical drives will be displayed as a single large disk. If it’s RAID to be reconstructed, please refer to the corresponding section for more information.
Other two modes ("Datastores" and "Files") represent data on the same level of interaction with the ESXi server as Vsphere does. Therefore these options make sense to be used when Vsphere is not installed on the client PC or in similar cases.
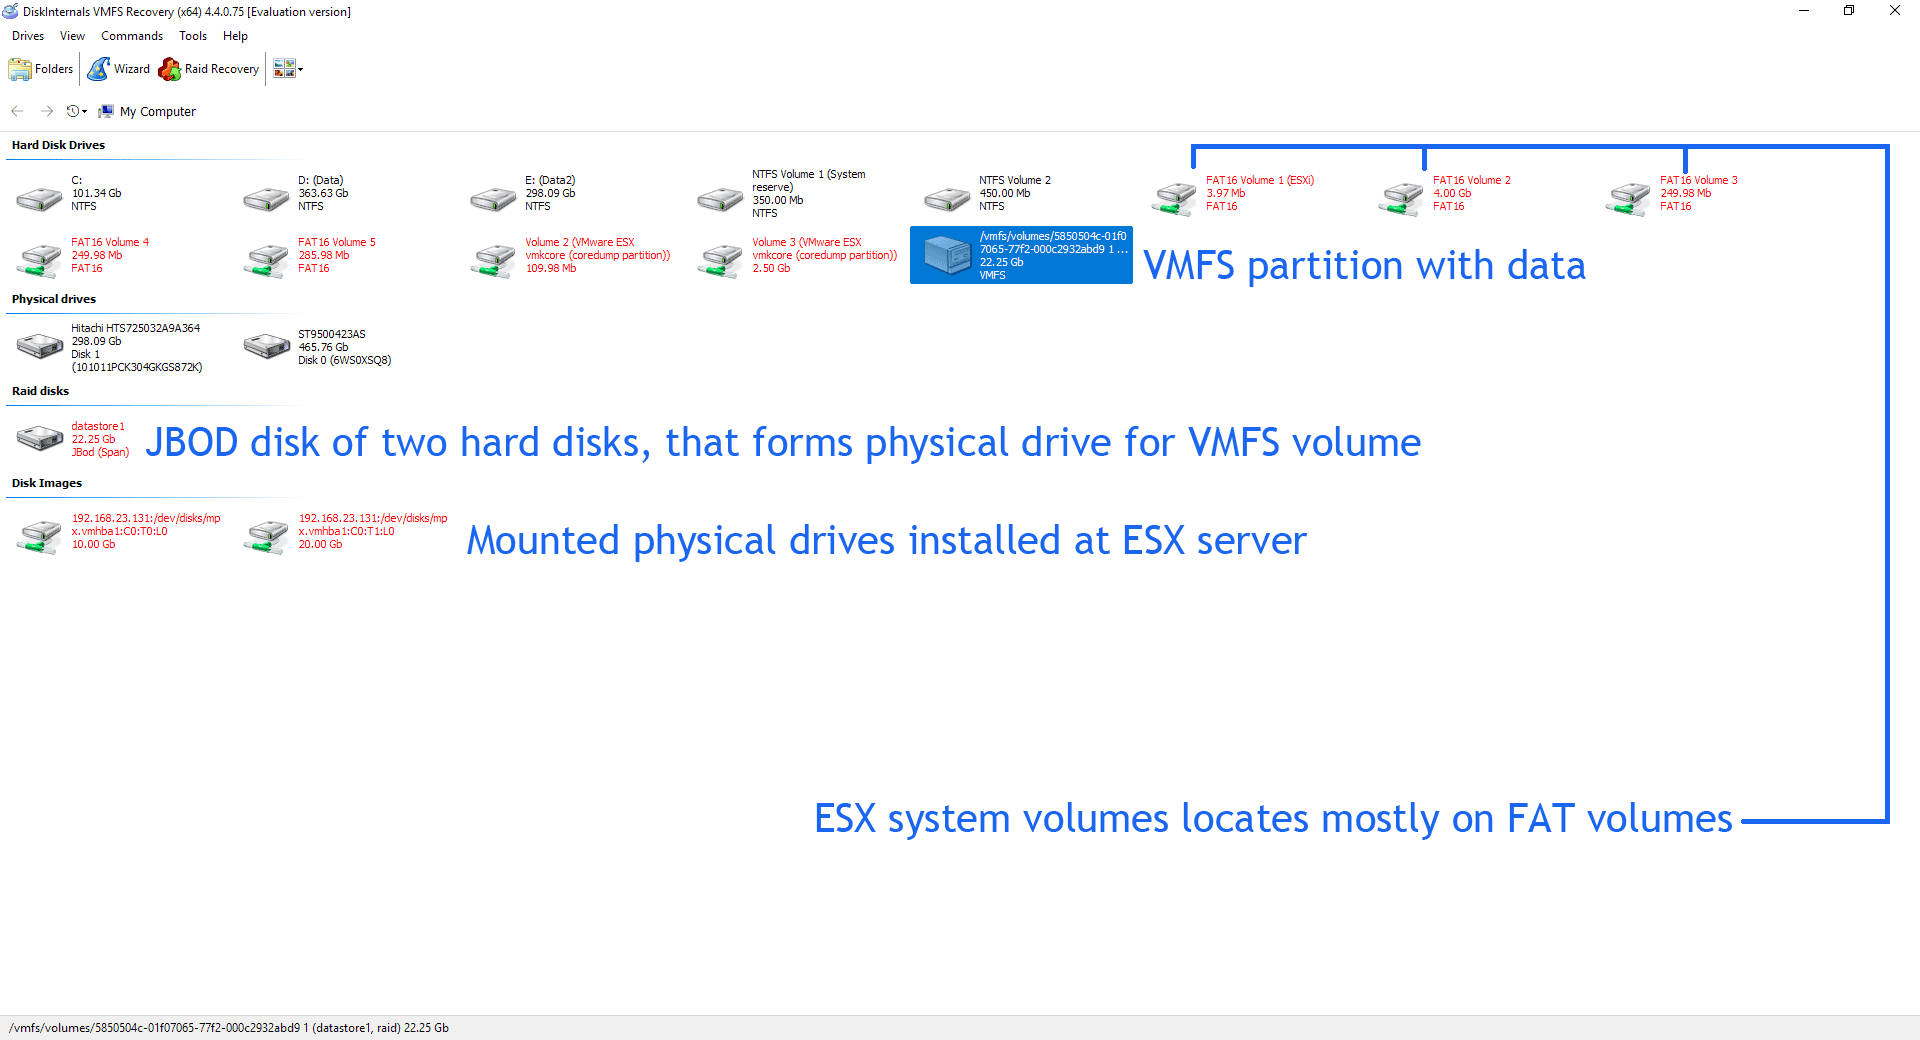
Wait until the connection is established and you’ll be returned to the disk list and should see available VMFS partition(section "Hard drives"), physical drives from ESX server(section "Disk Images"), JBOD disk of two virtual drives that form a disk for VMFS volume("RAID disk" section).
There are many ESX system volumes on the screen, that you can ignore.
All freshly added disks from RAID or SSH connections are marked red to be easily spotted. Red marks don’t mean any type of damage nor disk corruption.
To proceed to recovery of VMDK files, double click on the VMFS volume with lost data at the "Hard Drives" section. More detailed information about data recovery from VMFS disk can be found here.
Recommendations, performance issues and hints
SSH limitations
We have explored all possible configurations and performed a lot of tests with SSH protocol to improve access speed. However, the best performance we’ve achieved is 30-35% of available network bandwidth regardless of the Ethernet speed used. Professional SSH clients maybe a couple of percents faster, but it still can not be considered a satisfying speed, we had to look for other options.
iSCSIOur tests have discovered that the iSCSI protocol can achieve 50-60% of the available bandwidth, which makes it a much better choice for network recovery. Yet, we admit that iSCSI may be more complicated in set up and have no out-of-box support in the ESX server. Because of such a big difference compared to SSH, iSCSI is a recommended choice to recover large amounts of data. See a more detailed iSCSI setup guide here.
Vsphere proprietary high speed protocolsThere are several proprietary protocols built-in Vsphere that allow significantly more speed with almost 100% available bandwidth covered. However, these protocols access data on the disk on a file level and therefore it’s Vsphere’s driver to read the disk. For any data recovery appliance, you need to provide direct disk access with RAW cluster data, and these protocols do not provide low-level access and therefore can not be used for data recovery purposes.
Additional information:
Remote ESXi recovery using iSCSI and RDM mapped disk
Typical SSH connection issues and solutions
