Resolving VMware ESX Server Datastore Detection Issues After Power Outage
Introduction
In virtualized environments, unexpected issues can arise, especially after a power outage. A common problem involves a VMware ESX Server failing to detect a datastore. This article walks you through a real-world scenario where a VMware ESX 8.0 server did not recognize a VMFS datastore after a power outage. We will discuss the problem, the root cause, and the step-by-step solution using Diskinternals VMFS Recovery.
Problem Description
A VMware ESX 8.0 server connected to a SAN storage array was shut down due to a planned power outage. After the server and storage array were brought back online, one volume remained inactive. The VMware Infrastructure Client showed the VMs on this volume as inaccessible. Despite the LUN being correctly presented, the volume appeared inactive, and the VMFS partition was not recognized by the ESX hosts. Rescanning storage adapters and refreshing the storage list did not resolve the issue.
Solution Overview
To resolve this issue, we used Diskinternals VMFS Recovery, a tool that allows the safe recovery of VMFS partitions. The process involves establishing an iSCSI connection between the SAN and a Windows PC, using VMFS Recovery to detect and recover the VMFS file system, and verifying the integrity of the recovered data.
Step-by-Step Solution
Step 1: Establish an iSCSI Connection
- Connect the SAN to a Windows PC
Use the iSCSI Initiator on your Windows PC to establish a connection with the SAN storage array. Ensure that the LUN containing the inactive volume is accessible.
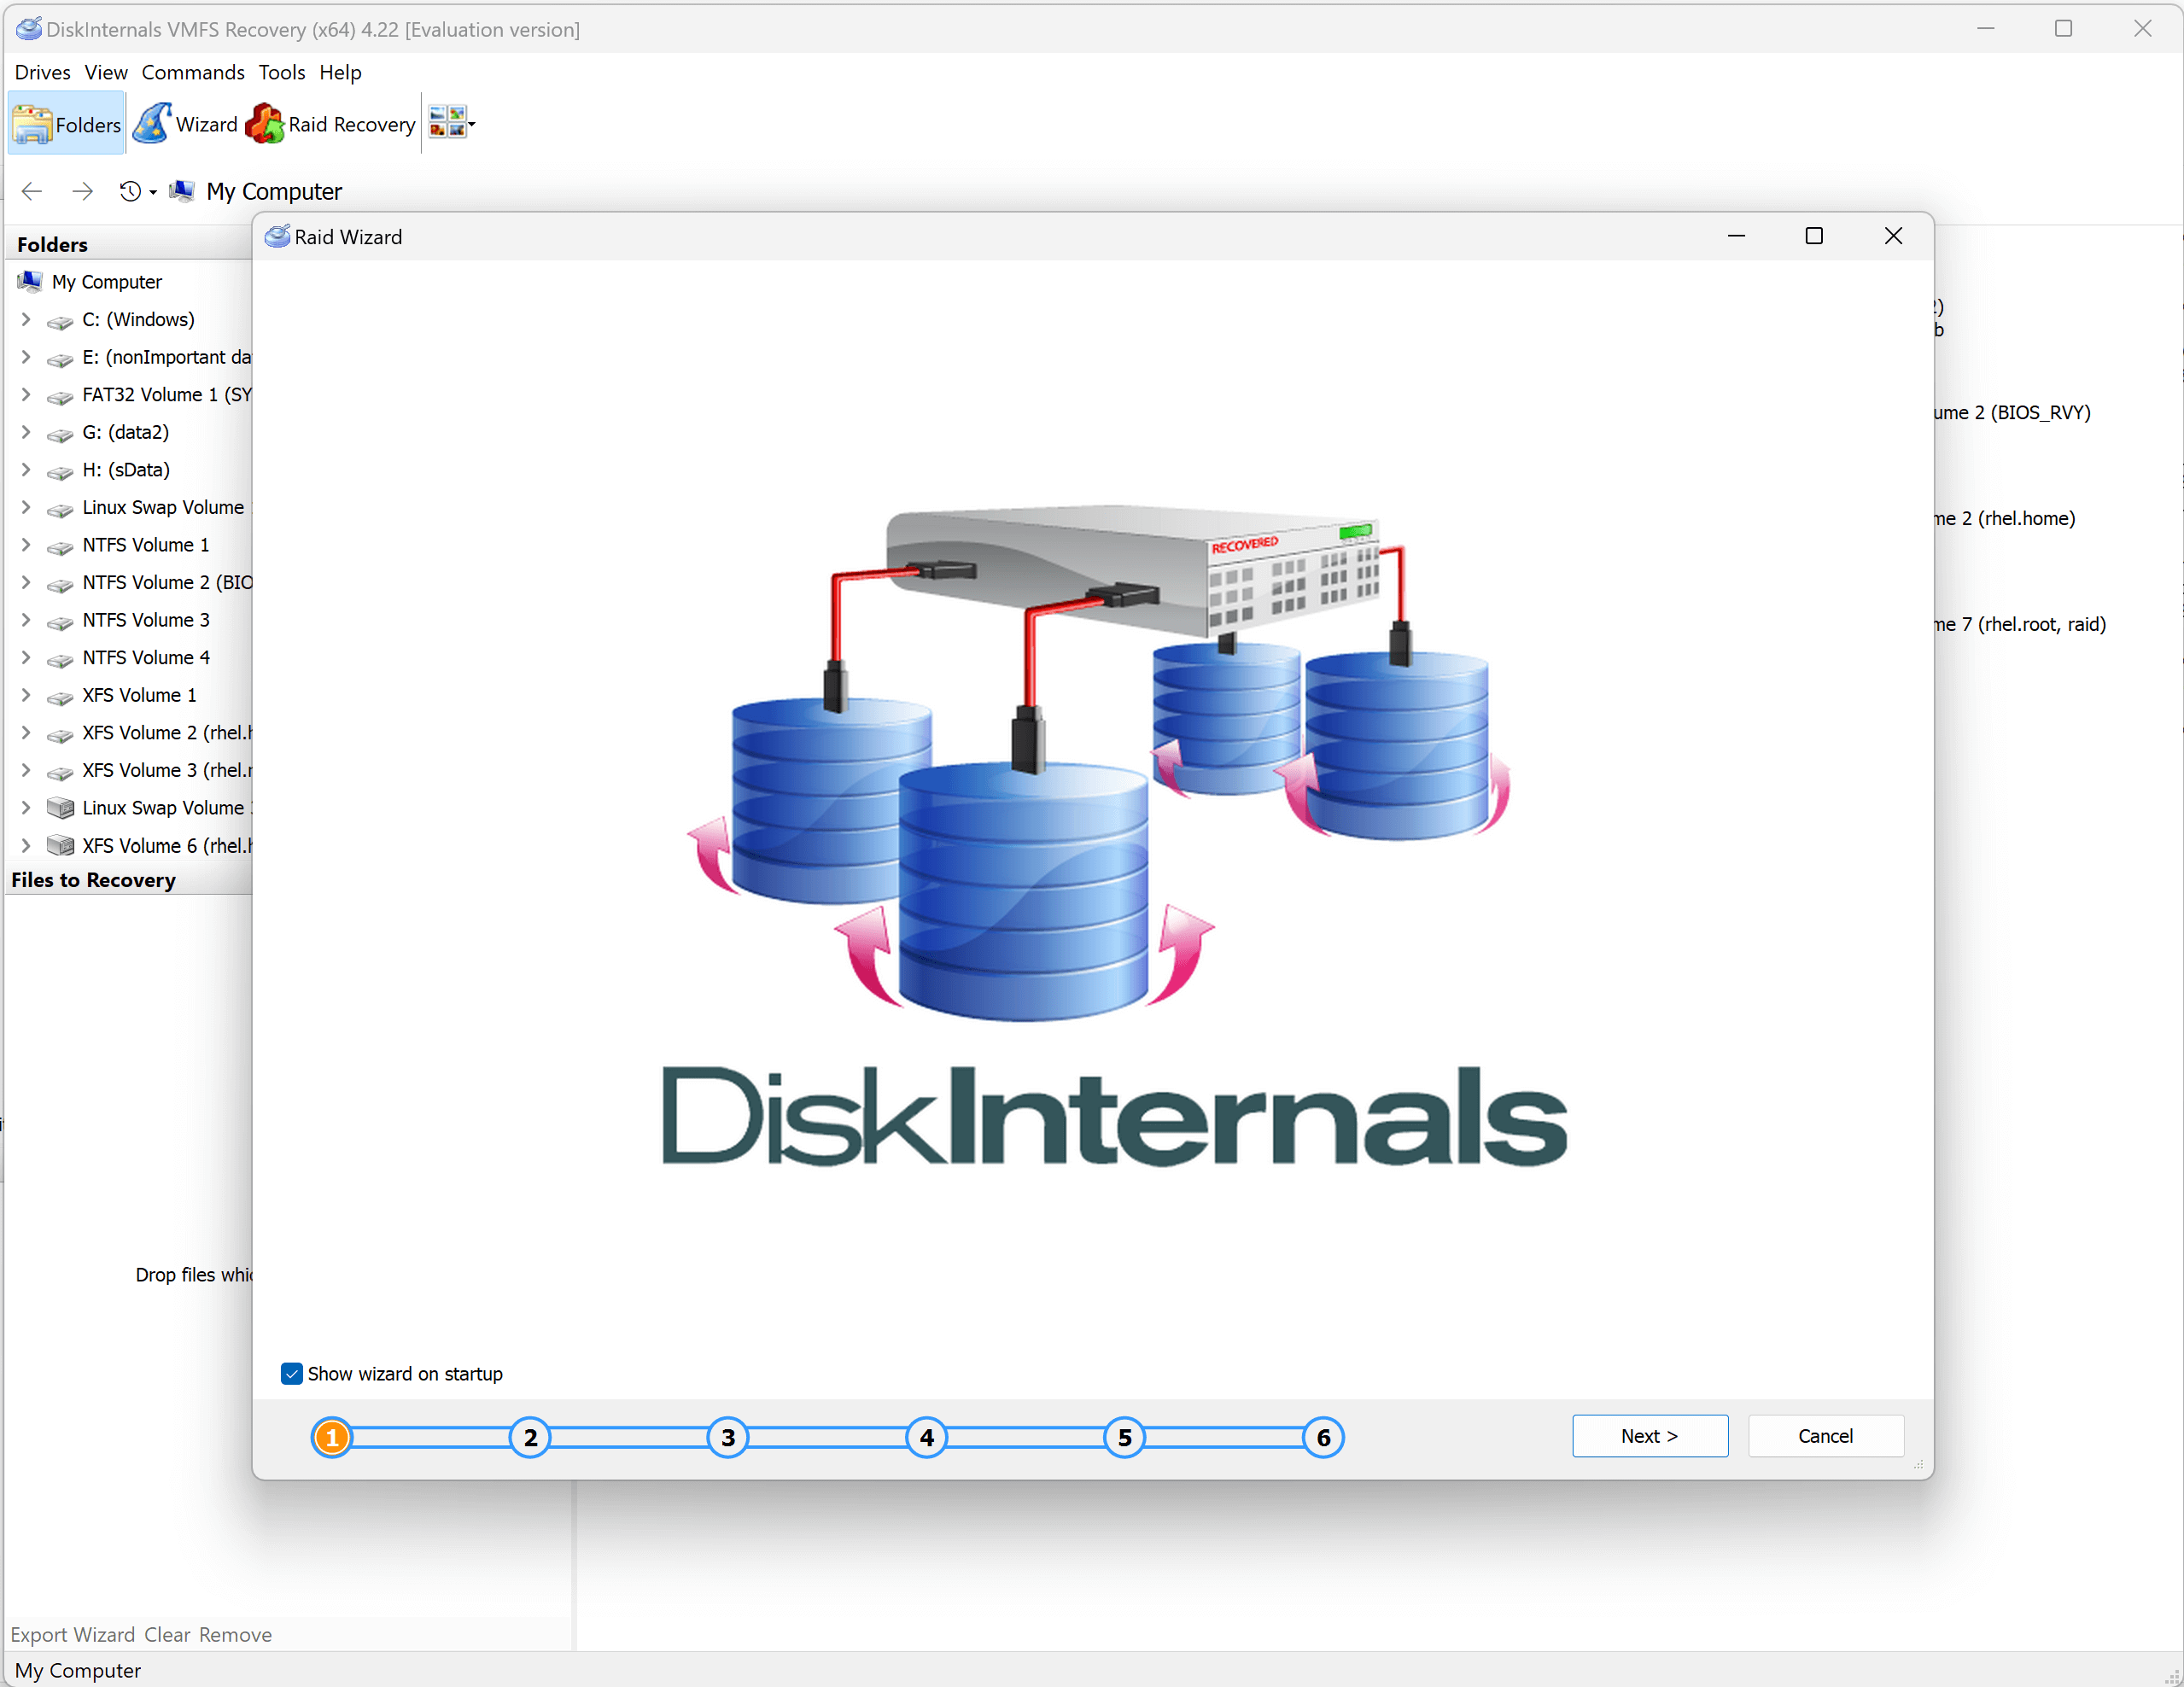
Step 2: Run Diskinternals VMFS Recovery
- Launch Diskinternals VMFS Recovery
- Detect the VMFS File System
Install and open Diskinternals VMFS Recovery on the Windows PC. This software works in read-only mode, ensuring that your production data remains intact.
Option A: Fast Scan
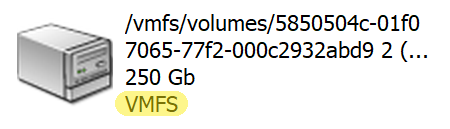
Choose the LUN from the list of available drives. Use the "Reader" or "Fast scan - Uneraser" modes to quickly scan the iSCSI volume.
If VMFS Recovery detects the VMFS file system, you can proceed to browse the recovered data.
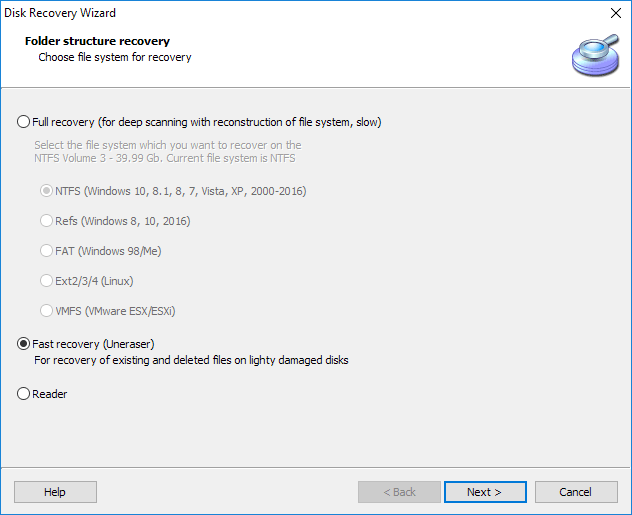
Option B: Full Recovery

If the VMFS file system is not detected in the previous step, select "Full Recovery -> VMFS" mode.
This method is more thorough but takes longer to complete.

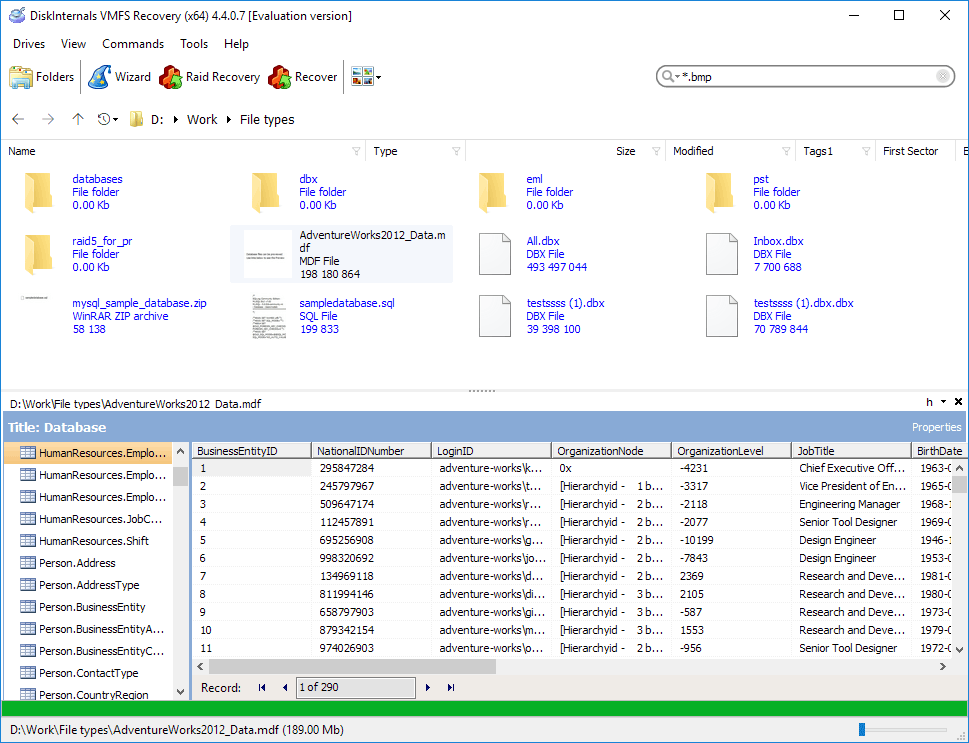
Step 3: Browse and Recover Data
- Mount the Recovered VMDK File
Once the recovery process is complete, browse the recovered data. Locate the VMDK files corresponding to your VMs.
Right-click on the required VMDK file and select the "Mount as Disk" option. This action will mount the VMDK file as a disk image on your Windows PC.
Refer to the complete guide on previewing recovered VMDK files at this link.

Step 4: Verify Data Integrity
- Open the Mounted VMDK File
- Preview and Verify Data
Open the mounted VMDK file in "Reader" mode within Diskinternals VMFS Recovery.
Use the built-in preview feature to check the integrity of the recovered data. Ensure that the files are intact and accessible.
If the data is valid, consider purchasing a registration key from this link to save the recovered files.
Conclusion
Recovering an inaccessible VMFS volume after a power outage can be daunting, but with the right tools and procedures, the process becomes manageable. By following this guide and using Diskinternals VMFS Recovery, you can safely recover your data without risking further loss. Always remember to verify the integrity of your data before proceeding with any major recovery operations.