VMFS3 vs VMFS5 vs VMFS6: What’s the Difference?
VMware Virtual Machine File System (VMFS) is a clustered filesystem used by VMware ESXi to store virtual machine files on shared storage. Over time VMware introduced several VMFS versions with improvements in scalability, performance, and storage efficiency.
The most common versions encountered during data recovery are VMFS3, VMFS5, and VMFS6.
Quick takeaway
VMFS3 is legacy and restrictive, VMFS5 modernized datastore management, and VMFS6 added automatic space reclamation and better support for modern storage hardware.
VMFS3
VMFS3 was widely used in VMware ESX/ESXi 3.x and 4.x environments and is still encountered on legacy storage systems.
Key characteristics
- Block size selectable at format time (1 MB, 2 MB, 4 MB, or 8 MB)
- Maximum file size depended on the selected block size
- Maximum datastore size: 64 TB
- Uses SCSI reservations for locking
- Metadata structure optimized for older ESX architectures
Typical issues with VMFS3
Block size restrictions
The maximum size of a VMDK depends on the block size selected during formatting. If the datastore was created with a small block size, administrators may not be able to create large virtual disks without recreating the datastore.
SCSI reservation contention
VMFS3 relies heavily on SCSI reservations for locking shared storage. In busy environments this may cause performance problems or temporary storage lockups when multiple hosts attempt metadata operations.
Legacy partition layout
VMFS3 volumes typically use older partitioning layouts, which complicates expansion and migration to modern storage systems.
Upgrade artifacts
When a VMFS3 datastore is upgraded to VMFS5, some legacy structures may remain. These hybrid layouts may complicate administration, migration, and data recovery.
VMFS5
VMFS5 was introduced with VMware vSphere 5 and significantly improved storage management.
Key improvements
- Unified 1 MB block size
- Maximum virtual disk size: 62 TB
- Maximum datastore size: 64 TB
- Improved ATS (Atomic Test & Set) locking
- Support for GPT partitioning
- Simplified datastore management
VMFS5 also removed the need to choose a block size during formatting.
Typical issues with VMFS5
Datastore upgrade inconsistencies
When VMFS3 datastores are upgraded in place to VMFS5, they may retain legacy alignment or metadata layout characteristics. These upgraded volumes may behave differently from newly created VMFS5 datastores.
ATS misconfiguration
VMFS5 relies on ATS locking when supported by the storage array. If the array firmware or configuration does not support ATS correctly, ESXi may fall back to SCSI reservations, causing performance degradation.
Extent-related complexity
Expanding VMFS5 datastores or using multiple extents can complicate management. In recovery scenarios, multi-extent datastores are also more difficult to reconstruct correctly.
Manual space reclamation
Thin-provisioned storage arrays require manual UNMAP operations in many VMFS5 environments. If this is not done periodically, freed blocks may remain allocated on the storage system.
VMFS6
VMFS6 was introduced with vSphere 6.5 and is the current generation VMFS filesystem.
Major enhancements
Automatic space reclamation
VMFS6 supports automatic UNMAP, allowing ESXi to return freed blocks to the storage array automatically.
- better thin-provisioned storage efficiency
- reduced administrative maintenance
Native 4K disk support
VMFS6 supports modern storage devices with 4K native sector sizes, improving compatibility with newer storage hardware.
Improved metadata handling
Metadata operations were optimized for modern ESXi workloads and larger environments.
Large virtual disks
VMFS6 continues support for virtual disks up to 62 TB.
Typical issues with VMFS6
Automatic UNMAP side effects
In some storage environments, automatic UNMAP can generate additional I/O load, especially on arrays with limited garbage collection performance.
4K sector compatibility
Older storage arrays or RAID controllers may not fully support 4K native disks, leading to datastore mounting problems or degraded performance.
Storage firmware incompatibility
VMFS6 relies more heavily on modern storage features. Firmware mismatches between ESXi and storage arrays can cause datastore accessibility problems.
Wider impact of corruption
Large modern datastores often contain many virtual machines. When storage hardware fails or metadata becomes damaged, the impact may affect multiple VMs at once.
Quick Comparison
| Feature |
VMFS3 |
VMFS5 |
VMFS6 |
| Introduced in |
ESX/ESXi 3 |
vSphere 5 |
vSphere 6.5 |
| Block size |
1–8 MB selectable |
Fixed 1 MB |
Fixed 1 MB |
| Max datastore size |
64 TB |
64 TB |
64 TB |
| Max VMDK size |
Up to 2 TB – 512 B (block dependent) |
62 TB |
62 TB |
| Automatic UNMAP |
No |
Limited / manual |
Yes |
| 4K disk support |
No |
Partial |
Yes |
| Locking mechanism |
SCSI reservations |
ATS + fallback |
ATS optimized |
VMFS Versions and Data Recovery
When recovering data from a VMFS datastore, the filesystem version is important because metadata structures differ between versions, partition layouts may change, upgrade paths may leave hybrid layouts, and VMFS6 introduces automatic space reclamation behavior.
Recovery tools must correctly interpret these structures to reconstruct:
- virtual disk files (VMDK)
- virtual machine configuration files
- snapshots
- deleted or lost virtual machines
How to Identify the VMFS Version
The VMFS version can usually be determined from:
- ESXi datastore properties
- partition metadata on the disk
- VMware management tools
- specialized recovery software
Need Help Recovering VMFS Datastores?
If a datastore becomes inaccessible due to disk failure, controller issues, accidental deletion, or metadata corruption, it may still be possible to recover virtual machines directly from the VMFS volume.
Tools designed specifically for VMFS recovery can reconstruct datastore structures and extract virtual machine files even when the ESXi host can no longer mount the datastore.
Posted by Administrator on Mon, 9 Mar 2026
tags:
How VMFS Works: Inside VMware’s File System Architecture
Understand VMFS structure, metadata layout, snapshots, and file allocation for improved VMFS recoverability.
VMware’s VMFS is a specialized cluster file system tailored for storing virtual machine disk files. In this deep dive, we’ll explore the VMFS structure, metadata, snapshot mechanics, and file allocation—plus quick sysadmin tips based on real-world experience to help you prevent data loss and improve VMFS recoverability.
VMFS Structure Overview
1. Partition Layer
VMFS typically lives on top of a raw LUN or physical disk. It can use MBR or GPT, though GPT is preferred for large volumes.
Sysadmin Tip (1-min check):
If you're working with older storage, check if your partition table is still MBR—it silently limits you to 2TB, and you may not notice until it's too late.
parted /dev/sdX print
2. Volume Header
This region contains the UUID, VMFS version, and metadata pointer map. It's the first thing checked when mounting.
Sysadmin Tip (2-min disaster prep):
Keep a copy of esxcfg-volume -l output or run it weekly as a cron job. If the header gets damaged, you’ll need the volume UUID or label to recover or mount it manually.
esxcfg-volume -l > /var/log/vmfs-volumes.txt
3. Metadata Blocks
Metadata tracks everything: file locations, locks, snapshots, directories.
Sysadmin Tip (5-min audit habit):
If you ever have slow datastore performance, suspect metadata congestion. Running too many VMs with snapshot chains on a single datastore can cripple metadata response times. I once cleared 20GB worth of stale snapshot deltas and cut latency in half.
Bonus: Avoid running backup solutions that create too many concurrent snapshots without consolidating.
4. File Blocks / Data Extents
VMFS splits files into extents. These aren't necessarily contiguous.
Sysadmin Tip (3-min review):
Before increasing VM disk size, check if the file is fragmented across extents. VMs spread over many extents may be harder to recover if volume corruption occurs.
vmkfstools -D /vmfs/volumes/datastore1/VM/VM.vmdk
5. Sub-Block Allocation
Sub-blocks are used for small files (like .vmx, .log, .nvram) under 1MB to reduce waste.
Sysadmin Tip (1-min cleanup habit):
Clear old .log files and unused snapshots periodically. These sit in sub-blocks and clutter metadata. I automate this monthly with a short PowerCLI script.
How Metadata Works in VMFS
Metadata is structured in B+ trees and journaling zones.
Sysadmin Tip (5-min read & react):
Don’t ignore logs like vmkernel.log reporting delayed journaling or metadata locks—this can mean your metadata is reaching a tipping point. I once lost a host cluster because ignored logs led to full metadata journal corruption.
Snapshots in VMFS
Each snapshot is a delta disk. Chains can go several layers deep.
Sysadmin Tip (2-min visibility check):
Use vmkfstools -t0 or PowerCLI to visualize snapshot trees. The deeper the chain, the higher the risk of corruption.
Rule of thumb: Never go beyond 2–3 snapshot levels unless you're absolutely forced to. I had a client with 9 chained deltas—when corruption hit, it was unrecoverable beyond the 3rd level.
File Allocation in VMFS
VMFS uses large block sizes and dynamic extents for file allocation.
Sysadmin Tip (3-min visual proof):
Use VMware’s datastore browser to spot “split” or thin VMDKs with unusual names or sizes. If they grow inconsistently, verify if something else (like backup snapshots) is interfering.
Sysadmin Tip (2-min alert setup):
Regularly check available space on your VMFS volumes. Running out of free space can lead to serious corruption issues, especially during snapshot commits or VM migrations. I’ve seen a full VMFS volume take out a cluster’s performance for hours.
Recommendation: Set a threshold alert in vCenter (e.g. 80–90% usage), or use a scheduled script to monitor usage and notify you before it's too late.
Bonus Tip: Always consolidate snapshots after large operations like patching or database dumps. It re-merges extents and reduces future recovery headaches.
VMFS Versions: Compatibility & Recovery Impact
| VMFS Version |
Introduced With |
Max Volume Size |
Notable Changes |
| VMFS-3 |
ESX 3.x |
2 TB |
Widespread but limited |
| VMFS-5 |
ESXi 5.x |
64 TB |
Unified block size |
| VMFS-6 |
ESXi 6.5+ |
64 TB |
Async UNMAP, better metadata performance |
Sysadmin Tip (2-min compatibility check):
Use vmfs6 only if all your backup tools and disaster recovery scripts fully support it. I had to roll back a datastore upgrade after discovering our backup tool couldn't parse VMFS-6 snapshots properly.
VMFS Recoverability: What You Can (and Can't) Recover
Knowing what VMFS stores and how it manages data helps determine what’s recoverable.
Sysadmin Tip (5-min post-crash drill):
After a crash, resist the urge to reformat or run disk checks. Instead:
1. Clone the disk,
2. Check esxcfg-volume -l,
3. Try mounting as a snapshot (esxcfg-volume -M).
Many recoveries fail not because of corruption, but due to user panic and overwrites.
Conclusion
VMFS isn't just a storage format—it’s a layered, intelligent system with complex metadata, snapshots, and block structures. Understanding how VMFS allocates files and maintains snapshots gives you the upper hand when disaster strikes. And with some proactive maintenance and sysadmin discipline, you can greatly increase your VMFS recoverability success rate.
Related Reading:
Posted by Administrator on Thu, 10 Jul 2025
tags:
VMFS Recovery fails to start, a **.dll is not found error and solution
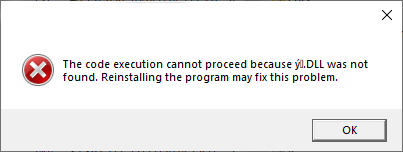
The error message is the following: "The code execution cannot proceed because **.dll was not found. Reinstalling the program may fix this problem." Usually instead of **.dll some non-Latin symbols slightly vary from system locales.
The screenshot of the error message:
The error occurs on the systems protected by Bitdefender antivirus and we are working with the Bitdefender development team to resolve the issue.
As a temporary solution, please add VMFS Recovery to exclusions in BitDefender or turn off an Advanced Threat Defense option:
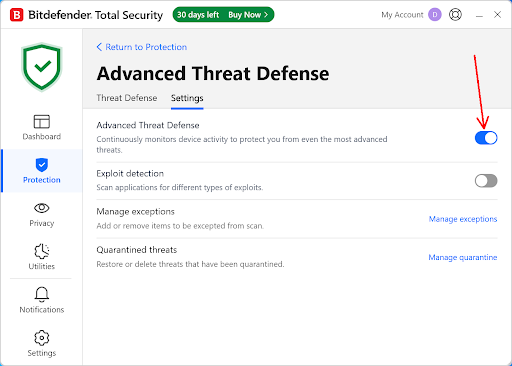
Note: If you use a different antivirus, please notify the Diskinternals support team.
Posted by Administrator on Sun, 23 Feb 2025
tags:
Handling Corrupted VMDK Files: A Comprehensive Guide
Virtual Machine Disk (VMDK) files are integral to VMware environments, storing all data and configurations for virtual machines. When these files become corrupted, the results can be disruptive, potentially leading to significant data loss. Fortunately, tools like VMFS Recovery provide robust solutions to address such issues efficiently.
Identifying VMDK Corruption
Before initiating a recovery, confirm the VMDK file is corrupted. Common indicators include:
- Virtual machines failing to boot.
- Error messages like "Unable to access file" or "File is missing or corrupt."
- Slow performance or system freezes during VM operations.
Steps to Recover Corrupted VMDK Files
1. Assess the Damage with Preview Tools
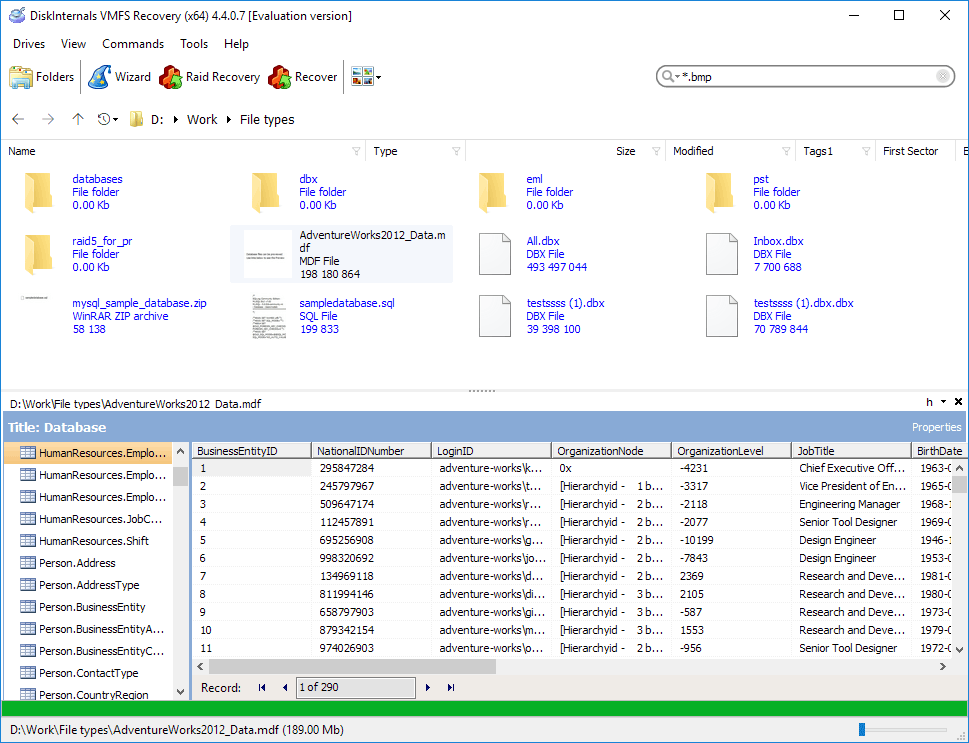
The VMFS Recovery tool includes features to preview data within a corrupted VMDK file, making it easier to evaluate recoverability before committing to full recovery:
- Connect the damaged VMFS datastore as a local disk or via a network location using SSH (slower) or an iSCSI interface.
- Open the datastore and mount the corrupted VMDK file in VMFS Recovery as a disk image.
- Utilize the Reader Mode to access the file instantly and check the state of the guest file system. This mode is quick and effective for initial assessments.
- If Reader Mode fails or if you need to recover deleted data, switch to Uneraser Mode.
- For extensive damage, use Full Recovery Mode. Ensure you specify the correct guest file system for accurate recovery.
Leverage the built-in preview feature to scan and display file contents, confirming that critical data is intact.
2. Recover the File
Once you’ve verified recoverability:
- Use VMFS Recovery to extract and save the repaired VMDK file to a secure location.
- For damaged VMFS datastores, confirm that the software accurately previews the most critical files before proceeding.
3. Repair Using VMware Tools
In certain cases, VMware’s built-in tools like vmkfstools can repair corrupted VMDK files.
Important: Always work on a copy of the corrupted VMDK file to avoid further damage.
vmkfstools -x check /path/to/disk.vmdk
If corruption persists, clone the file to bypass unreadable sectors:
vmkfstools -i /path/to/corrupted.vmdk /path/to/new.vmdk
Prevent Future Corruption
- Avoid abrupt shutdowns or power interruptions in your VMware environment.
- Monitor free space on VMFS volumes to ensure they don’t run out, as this can damage the VMFS structure.
- Avoid moving data across partitions. Instead, copy VMs to a new datastore, verify their functionality, and then delete the originals.
- Regularly monitor datastore health using VMware tools and perform routine maintenance.
Common Challenges and Solutions
- Corrupted Headers or Metadata: Advanced recovery tools like VMFS Recovery can bypass damaged headers and reconstruct missing metadata.
- Partial Recovery: Focus on extracting valuable data files first. Remember, it’s the data that makes a VM essential, not necessarily the VM configuration.
Conclusion
Handling corrupted VMDK files can be challenging, but with the right tools and processes, recovery is often achievable. Always start by imaging the damaged VM or VMFS volume to preserve the original state, then use tools like VMFS Recovery to assess the damage and preview recoverable data. These steps ensure minimal disruption to your VMware environment and safeguard critical data.
For additional resources and detailed instructions, visit the VMFS Recovery tutorials page.
Return to contents
Posted by Administrator on Sat, 14 Dec 2024
tags:
Resolving VMware ESX Server Datastore Detection Issues After Power Outage
Introduction
In virtualized environments, unexpected issues can arise, especially after a power outage. A common problem involves a VMware ESX Server failing to detect a datastore. This article walks you through a real-world scenario where a VMware ESX 8.0 server did not recognize a VMFS datastore after a power outage. We will discuss the problem, the root cause, and the step-by-step solution using Diskinternals VMFS Recovery.
Problem Description
A VMware ESX 8.0 server connected to a SAN storage array was shut down due to a planned power outage. After the server and storage array were brought back online, one volume remained inactive. The VMware Infrastructure Client showed the VMs on this volume as inaccessible. Despite the LUN being correctly presented, the volume appeared inactive, and the VMFS partition was not recognized by the ESX hosts. Rescanning storage adapters and refreshing the storage list did not resolve the issue.
Solution Overview
To resolve this issue, we used Diskinternals VMFS Recovery, a tool that allows the safe recovery of VMFS partitions. The process involves establishing an iSCSI connection between the SAN and a Windows PC, using VMFS Recovery to detect and recover the VMFS file system, and verifying the integrity of the recovered data.
Step-by-Step Solution
Step 1: Establish an iSCSI Connection
- Connect the SAN to a Windows PC
Use the iSCSI Initiator on your Windows PC to establish a connection with the SAN storage array. Ensure that the LUN containing the inactive volume is accessible.
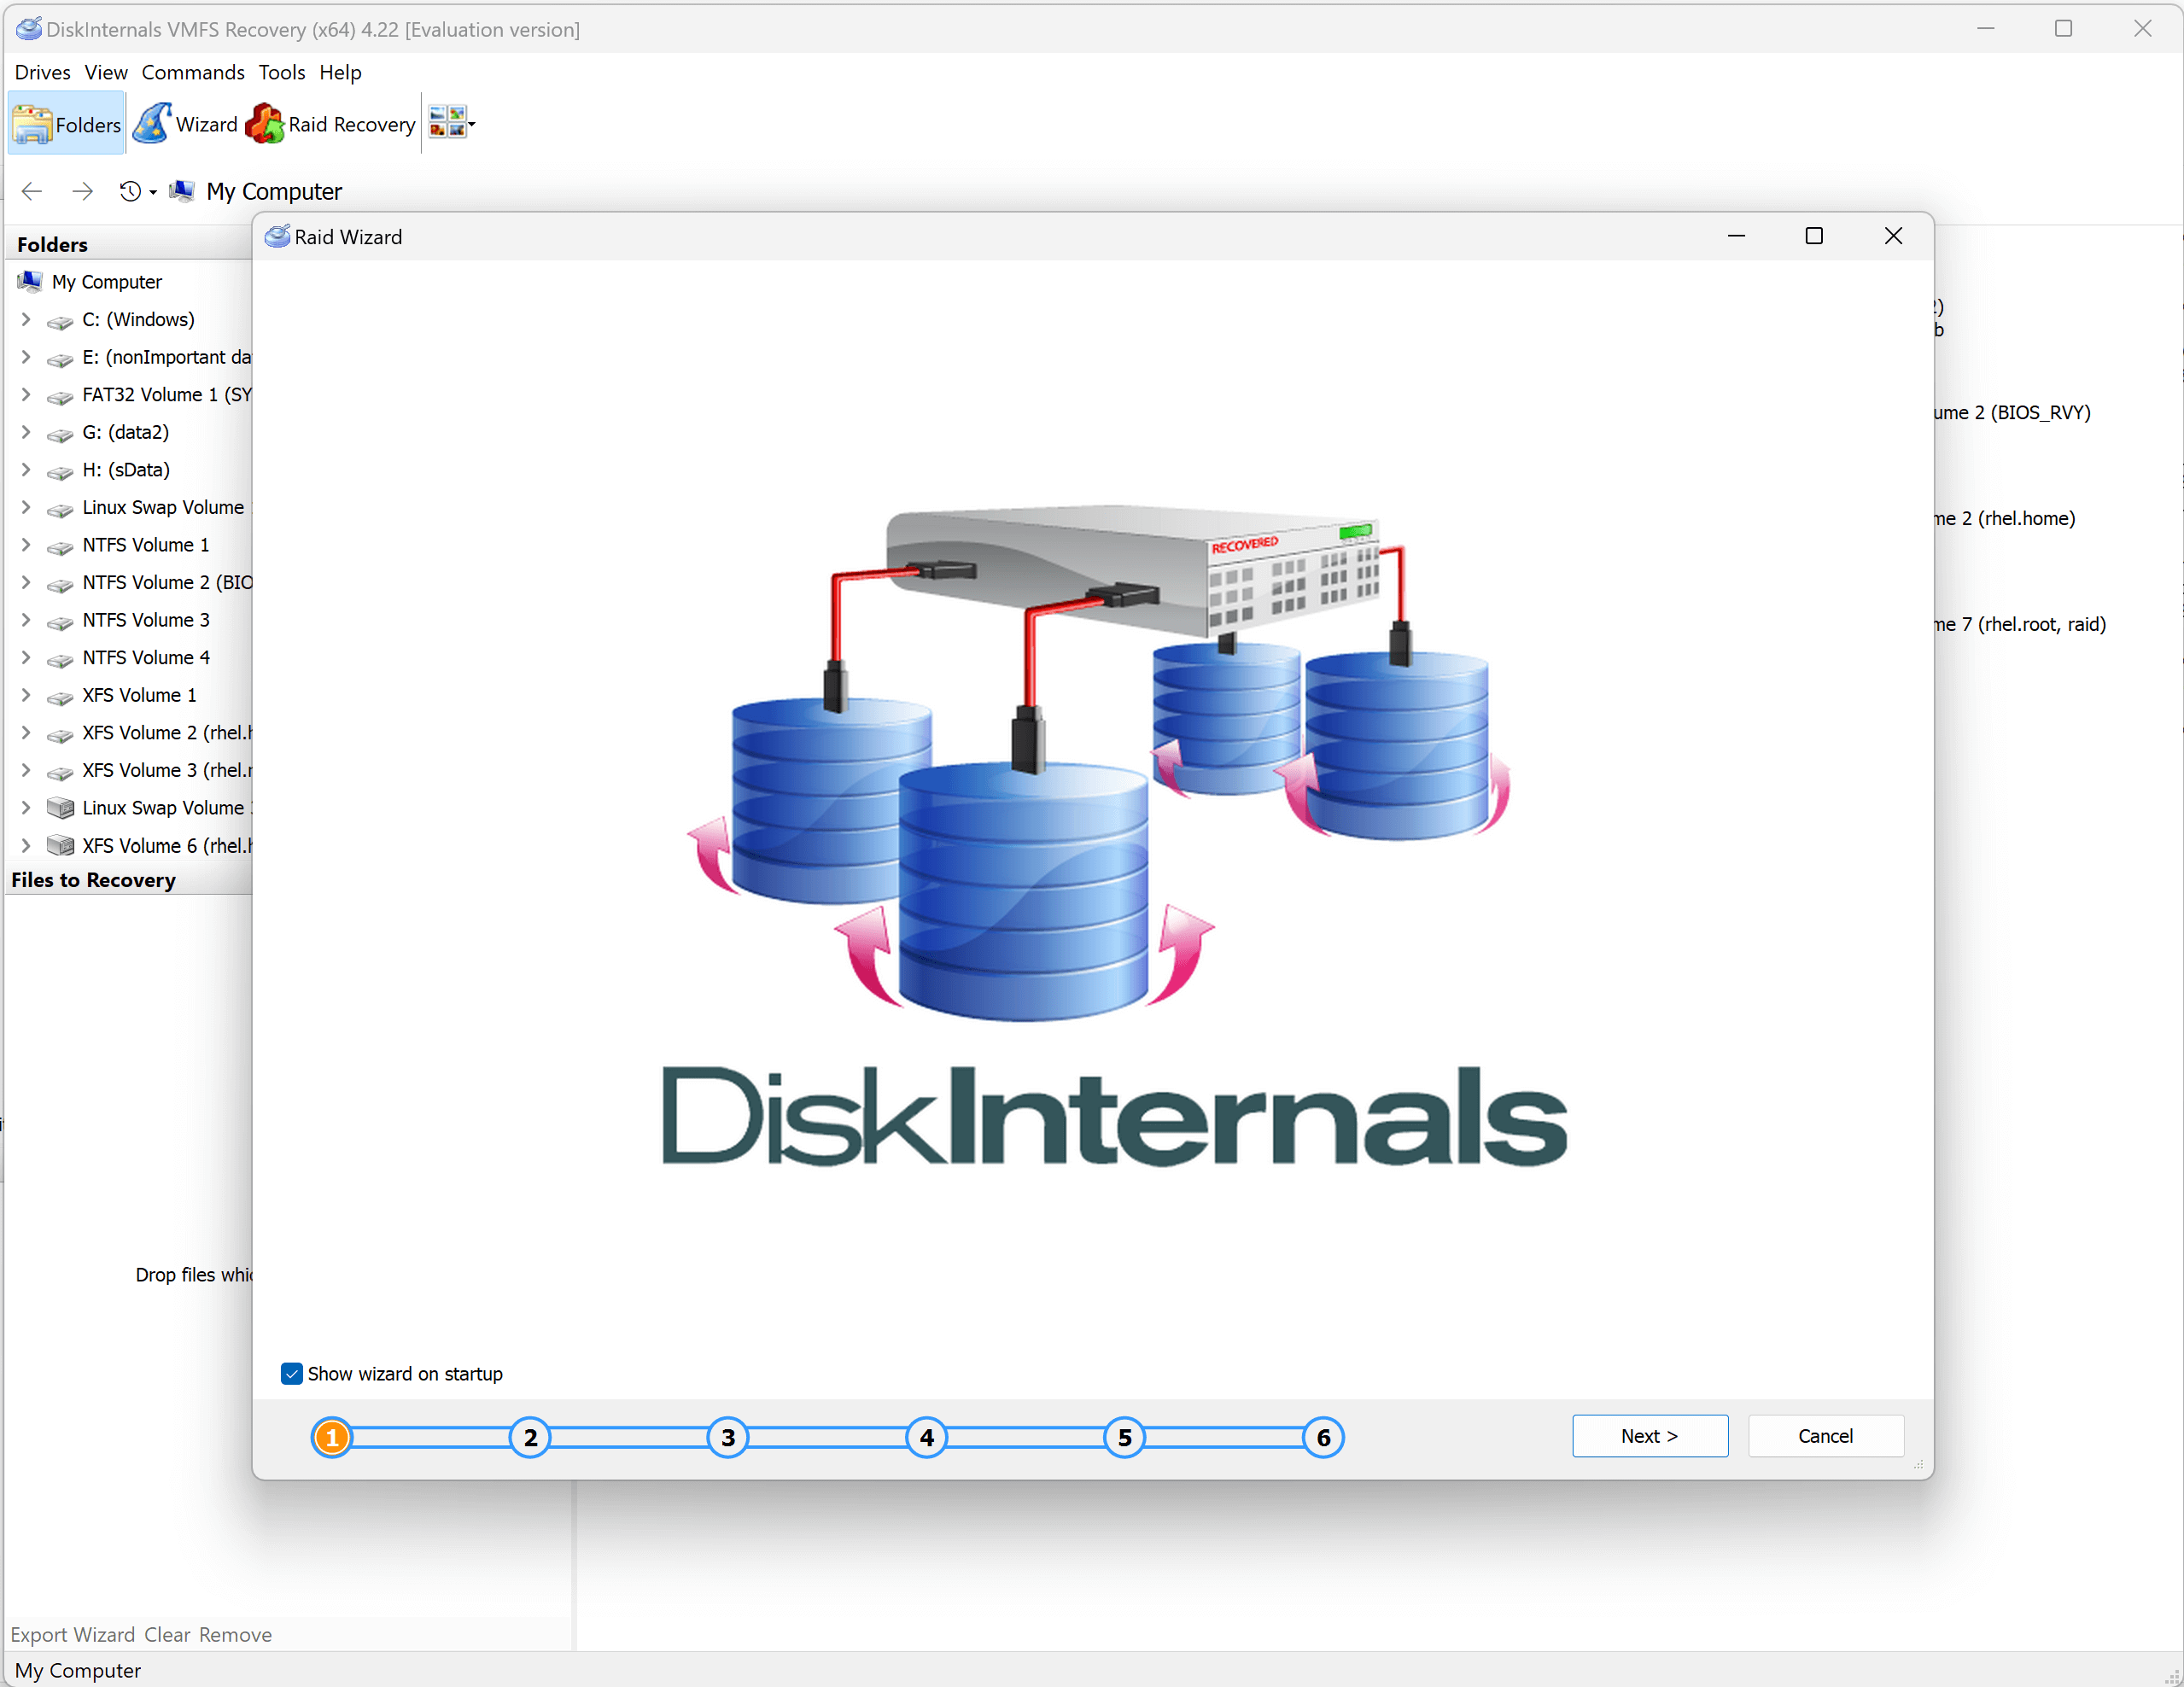
Step 2: Run Diskinternals VMFS Recovery
- Launch Diskinternals VMFS Recovery
Install and open Diskinternals VMFS Recovery on the Windows PC. This software works in read-only mode, ensuring that your production data remains intact.
- Detect the VMFS File System
Option A: Fast Scan
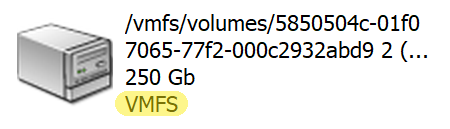
Choose the LUN from the list of available drives. Use the "Reader" or "Fast scan - Uneraser" modes to quickly scan the iSCSI volume.
If VMFS Recovery detects the VMFS file system, you can proceed to browse the recovered data.
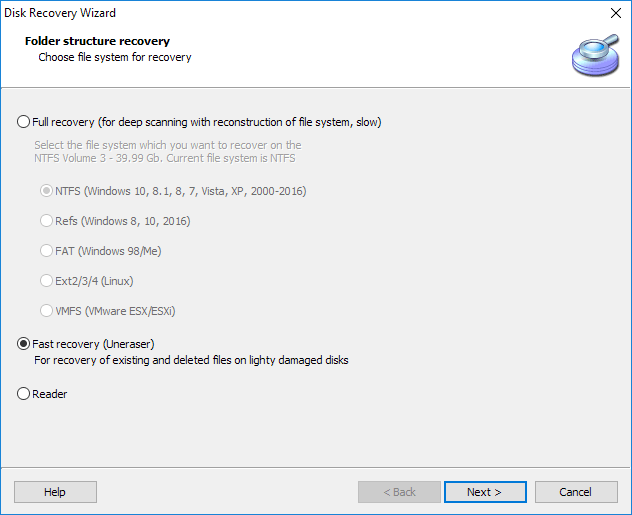
Option B: Full Recovery

If the VMFS file system is not detected in the previous step, select "Full Recovery -> VMFS" mode.
This method is more thorough but takes longer to complete.

Step 3: Browse and Recover Data
- Mount the Recovered VMDK File
Once the recovery process is complete, browse the recovered data. Locate the VMDK files corresponding to your VMs.
Right-click on the required VMDK file and select the "Mount as Disk" option. This action will mount the VMDK file as a disk image on your Windows PC.
Refer to the complete guide on previewing recovered VMDK files at this link.

Step 4: Verify Data Integrity
- Open the Mounted VMDK File
Open the mounted VMDK file in "Reader" mode within Diskinternals VMFS Recovery.
- Preview and Verify Data
Use the built-in preview feature to check the integrity of the recovered data. Ensure that the files are intact and accessible.
If the data is valid, consider purchasing a registration key from this link to save the recovered files.
Conclusion
Recovering an inaccessible VMFS volume after a power outage can be daunting, but with the right tools and procedures, the process becomes manageable. By following this guide and using Diskinternals VMFS Recovery, you can safely recover your data without risking further loss. Always remember to verify the integrity of your data before proceeding with any major recovery operations.
Return to contents
Posted by Administrator on Wed, 28 Aug 2024
tags: