Saving recovered VMDK or guest OS files
Foreword
- Save feature available in registered versions only
- If you need to check the integrity of recovered data before purchase, please use built-in preview
- You can mount recovered VMDK files as a disk image and check the integrity of VMDK's internal data too
Optimizing recovery time
Save speed: mostly depends on read speed of your media or FTP\SSH throughput. Normally SSH throughput is at least 5 times slower than a local hard drive. Consider moving the VMFS disk to a Windows PC, boot Windows instead of ESX, or use FibreChannel\iSCSI interfaces. Additional time spent on re-configuration could be insignificant compared to the gain in save speed, especially for a large amount of data.
Plan save process: as you'll probably need to save VMDK files to NTFS and then upload them back to the ESX server. It is possible to optimize download from ESX, but vSphere is the only way to upload data back to the production server. vSphere also uses SSH to upload files to the ESX server.
Partial save: In some cases it's worth creating a new(or cloning existing) virtual machine, installing OS and necessary software then connecting to the VM and uploading only significant data, such as a database or most recent files to work with. This method allows to cut the amount of transferred data and is usually applicable on low-speed connections.
Export Wizard
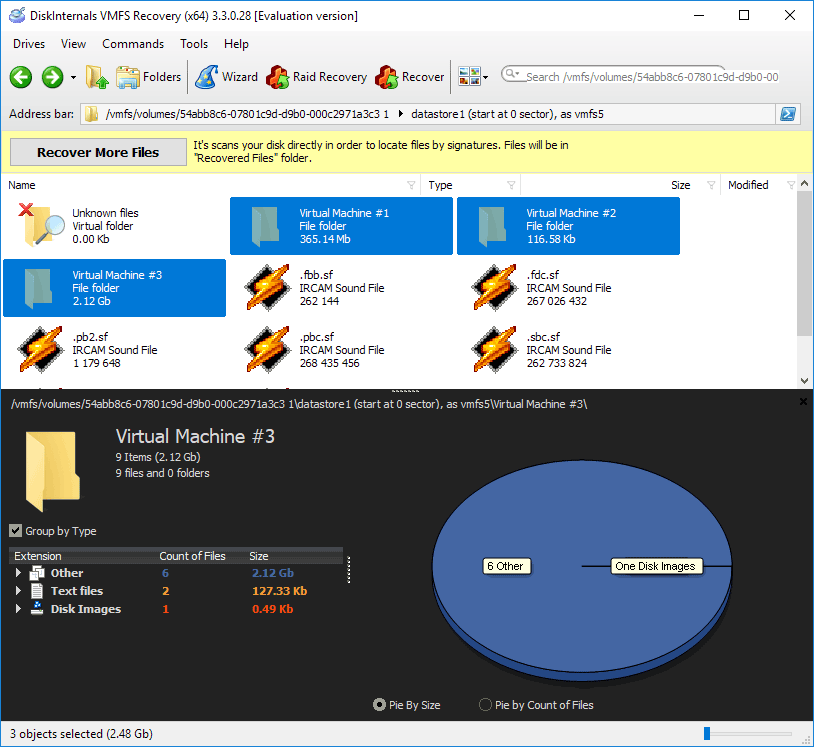
To save recovered data, select the files and folder to be saved and click the "Recover" button on the main toolbar.
Export Wizard will start. And there are three options available:
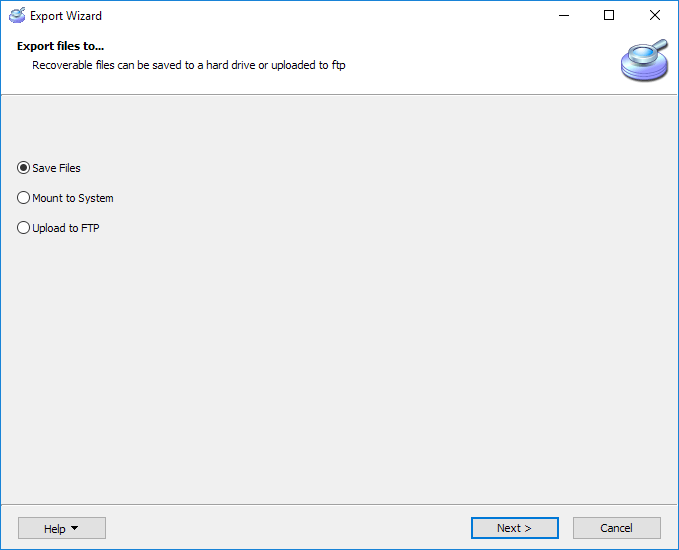
Save Files – copies recovered data to the disks in the same system.
Please note: it's impossible to save recovered data to the same disks you are recovering from, as well as write to the disks with file systems unavailable to Windows OS. For example: you can save to NTFS, FAT, ReFS disks and unable to save to VMFS, EXT, or ZFS disks. The actual list of supported file systems is limited to your Windows version and specific software installed.
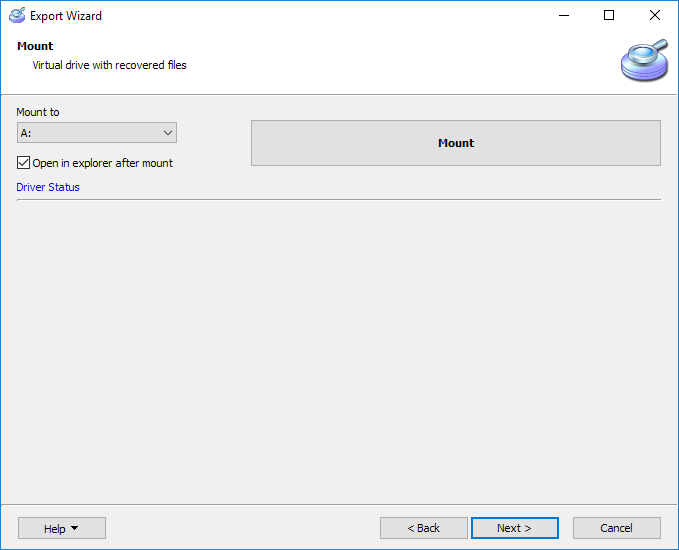
– mounts virtual disk to the Windows which can be accessed by any file manager or any other software present at the system.
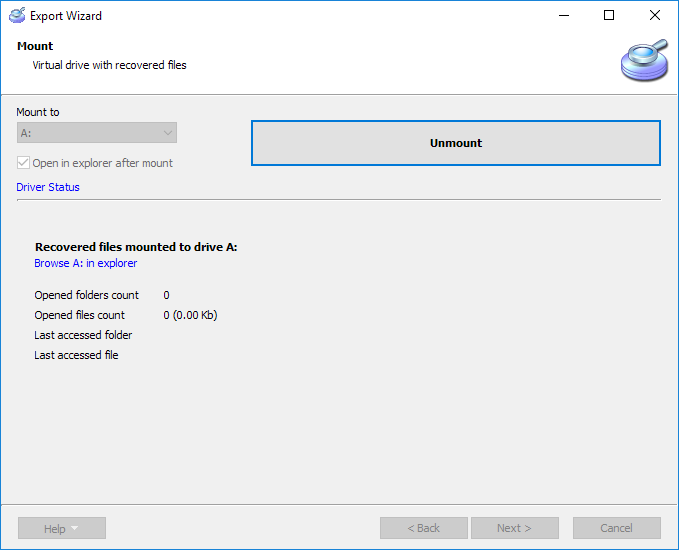
Select a letter that is not used by any other disks in the system and click the "Mount" button.
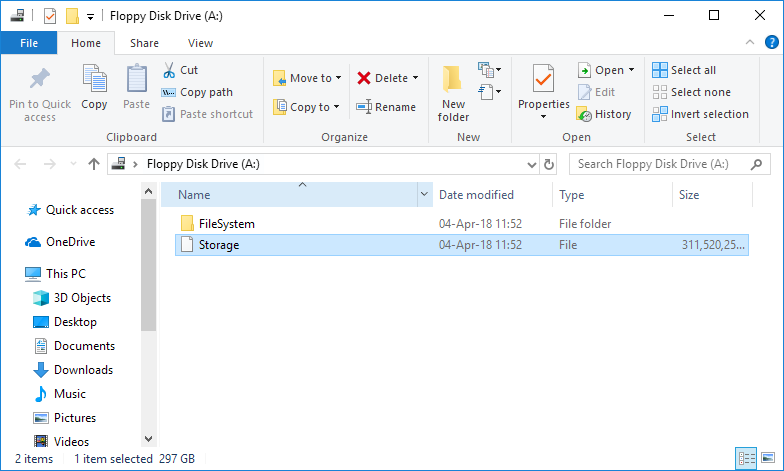
An Explorer window with a new disk should be opened and available to browse and copy.
Please note: In the context menu after a right mouse click on a partition or physical drive, there is an option "Mount to disk letter". The result will be pretty same as mounting a folder or several folders, but there is also a file called "Storage" without extension. It's located in the root folder of the new drive and is actually a disk image of the mounted disk.
Thus to save a disk image you need to copy "Storage" to the backup location and use it like any other disk image file. You can also rename it to ".img", ".bin" or ".dsk" file type, as all of them represent the same binary file with contents of the disk from 0-th to the last bit of the disk.
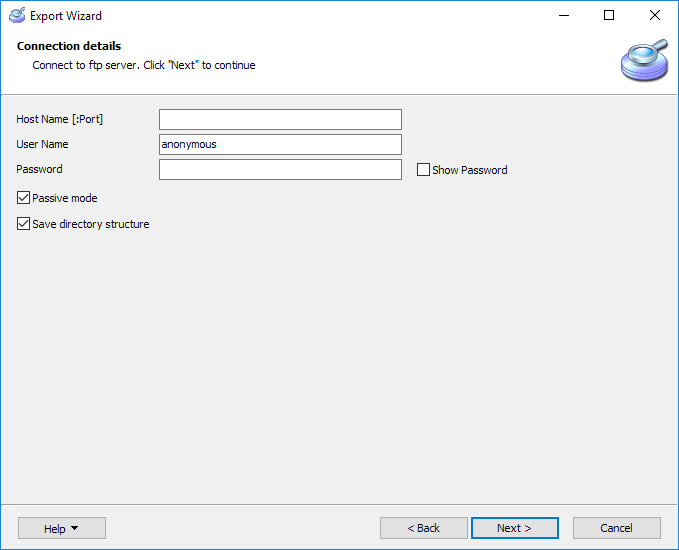
Upload to FTP -- starts built-in FTP client which allows the transfer of recovered data to FTP Server. Simply enter your Host Name, User Name, and Password to connect to the available FTP server with an existing user account.
