Constructor
After selecting Constructor
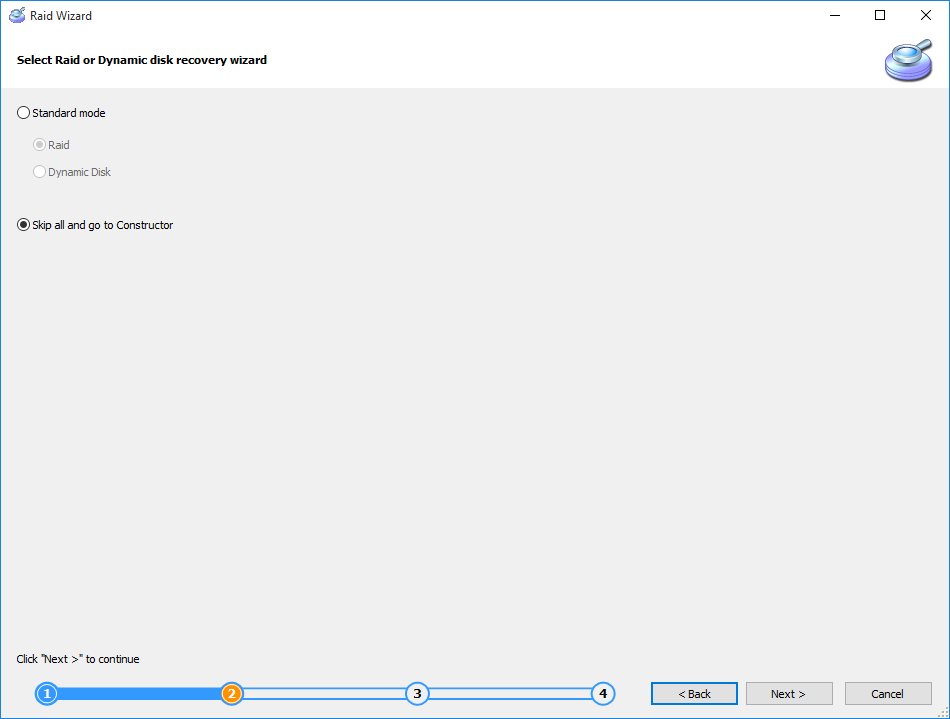
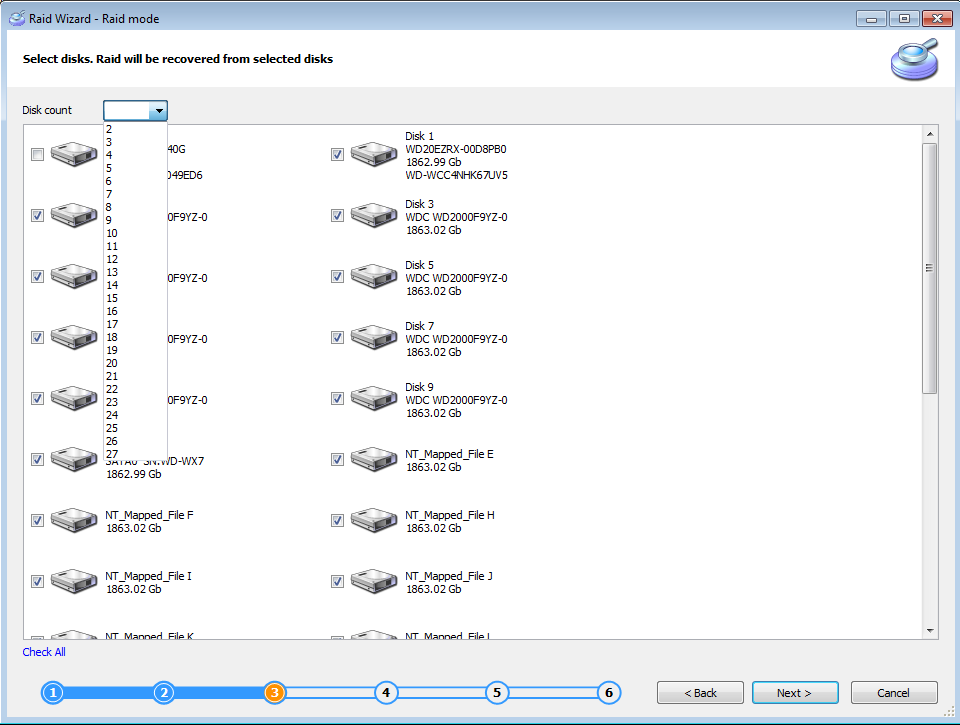
You'll have to choose disk count and check disks from array:
Constructor will be opened:
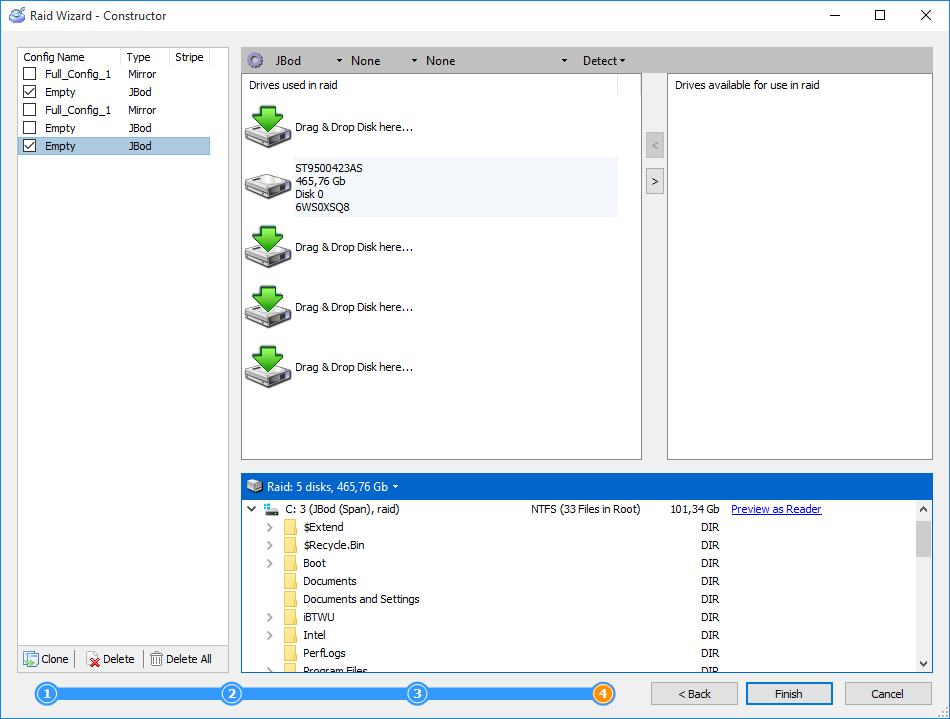
Left side contains all configurations detected automatically or created by user. Use “Clone" button to save current configuration and start new. Central window displays order of the disks in array. Right column is for available disks that was not added to configuration. And the bottom pane is for preview of the array.
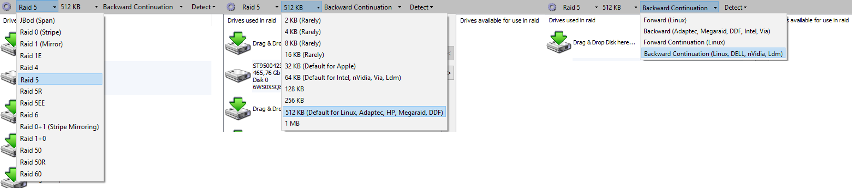
Use tool panel to set RAID level, geometry, stripe size
Usually RAID level is known, stripe size and disk order can be enumerated automatically, and the geometry is either “Backward" or “Backward Continuation". We haven't met any “Forward" geometry in our praxis yet.
Use “Detect" menu to start auto-detection of stripe size, disk order or both.
Disks can be dragged manually to the desired order. And if you are familiar with boot, file system and partition table signatures, you can preview their data by right click on them.
The criteria of success is a number of file system elements found at the current configuration. The more files and folders you can see at preview, the better configuration.
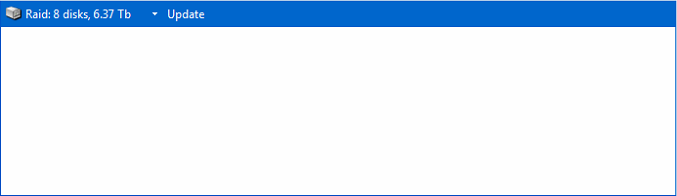
Preview of broken RAID
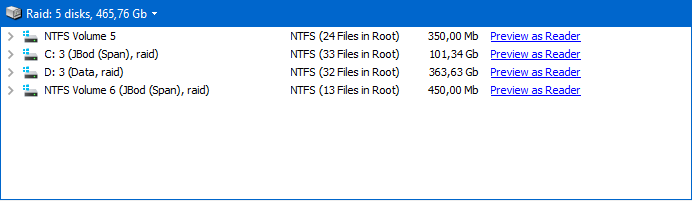
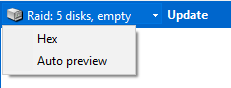
Preview of successfully reconstructed RAID. Hex preview also available, just click on RAID description at the preview panel:
If “Expert" mode is enabled at the Gear menu, you'll have more options.

At this mode you can set offset to start RAID and limit its size. To do this specify numbers in sectors at the corresponding columns. This may be required when partition table damaged and or disk start was wiped, leaving a healthy data partition in the middle. A common situation for many cases of formatted NAS array or ESX server disk. Both of these contain system partitions at the beginning of the disk before user data. To gain access to the valuable data you may need to set offset to the start of user partition.
If you were unable to find the proper configuration, it is very useful to try also all possible configurations without one disk. Especially if you suspect that some disk is damaged. Another reason to use this method when RAID failed during writing reconstructed information from parity stripes to the replaced disk. So try dropping one of the disk out of configuration, run detection, and check results. Return disk to the set, drop another one, and start detection again. Repeat until you try all disks of the array and clone all configurations that have more files that previous.
After complete click “Finish" to add all checked configurations to the disk list and continue to work with found partitions.