Recovering from CID mismatch error
VMware virtual disk chain error
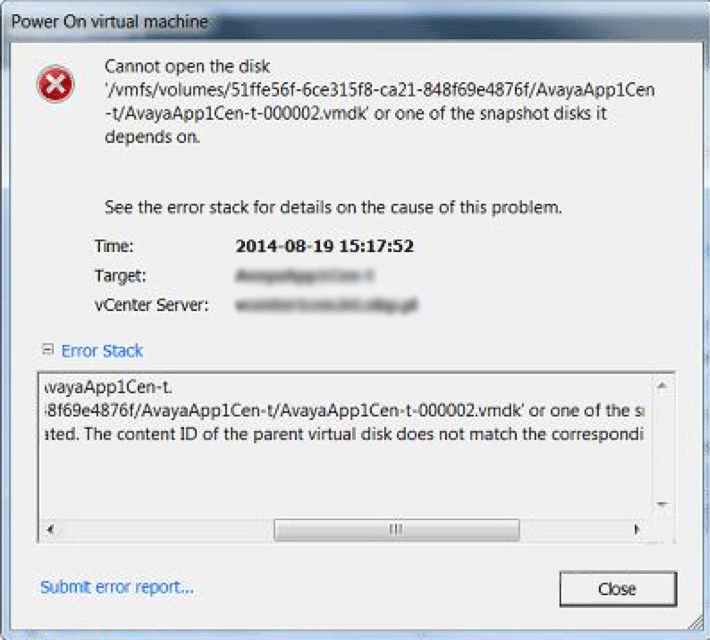
Sooner or later a regular VMWare user is very likely to face a problem: one or several of your virtual disks will not mount when you launch VM and the following error pops up:
Cannot open the disk ‘/vmfs/volumes/INSERT SPECIFIC VALUE HERE.vmdk’ or one of the snapshot disks it depends on. Reason: The parent virtual disk has been modified since the child was created.
This unpleasant event is caused by an unsynchronized VMware VI3 snapshot. The problem emerges when a user makes one or several snapshots of one or several virtual disks and these snapshots turn to be unsynchronized.
In order to understand the core of the problem one needs to know the particulars of how ESX/VI3 handles snapshots and snapshot delta changes relative to the corresponding original virtual disk (.vmdk). Yet we know that this management error occurs when the logics of the snapshot delta hierarchy gets disturbed. As a result child snapshot .vmdk files stop referencing the proper parent one. It turns out that the delta .vmdk files, that are created by VI3 along with every new snapshot, form a chain. This is a chain of CID values, that VI3 assigns to each snapshot file. The CID is the Content ID for the virtual disks. It uses a unique 8 digit hex number and links the content to the parent disk. These values are not constant and are modified each time when VM is being launched. If something causes the CID chain interruption, the VM won't be able to mount .vmdk.
Moreover, each .vmdk in CID chain contains a reference to the CID value and .vmdk of the previous (parent) file. The parent CID must refer to the exact .vmdk file, created right before the child one. Any time you boot VM, the CID chain's condition is supposed to be identical to its previous boot state. Any alterations would break this child – parent CID relations. The only way to resurrect a CID chain synchronization is to adjust all necessary links and values manually.
Here is an example of what a simple CID chain looks like:
- Parent(original) .vmdk = vdisk.vmdk
- Child .vmdk created after 1st snapshot = vdisk-000001.vmdk
- Child .vmdk created after 2nd snapshot = vdisk-000002.vmdk
If this chain has been modified, you have to restore the order manually. To do so point vdisk-000002.vmdk to vdisk-000001.vmdk, and vdisk-000001.vmdk to vdisk.vmdk.
Let's review information in Disk Descriptor File. Here we have to concentrate on the following parameters: CID, parent CID, parent Name Hint. All three fields are found in child disks only. The parent virtual disk doesn't have a parentNameHint field in its description, and its parentCID is always set to "ffffffff".
Let's have a look at the following configuration (only target fields are displayed).
parent vdisk.vmdk file:
CID=8f81b962
parentCID=ffffffff
child vdisk-000001.vmdk file:
CID=9eb644b9
parentCID= 8f81b962
parentFileNameHint="/vmfs/volumes/478b9802-ce7ed955-96a4-0015c5fd9308/servername/vdisk.vmdk"
Here:
ParentCID= Reference to the parent virtual disk. (Parent disk CID and child disk parent CID values must be identical. Its 8f81b962 in our case.
ParentFileNameHint= refers to parent vmdk
child vdisk-000002.vmdk file:
CID=249e6aff
parentCID= 9eb644b9
parentFileNameHint="sryulris0cogp01-000001.vmdk"
Here:
ParentCID = Reference to the previous snapshot.
ParentFileNameHint refers to previous virtual disk. (previous snapshot disk)
Now let's review necessary steps to restore CID chain synchronization.
Important: Backup all original files before any modification take place. Perform all recommended actions in a text editor.
Editing vdisk-000002.vmdk:
- change (if necessary) parentCID so that it is the same as CID of vdisk-000001.vmdk
- change parentNameHint to vdisk-000001.vmdk so that it refers to the previous snapshot.
Editing vdisk-000001.vmdk:
- change (if necessary) parentCID so that it is the same as parent vdisk .vmdk
- change parentNameHint to / vmfs/volumes/478b9802-ce7ed955-96a4-0015c5fd9308/servername/vdisk.vmdk.
Now, after all the modifications have been applied and CID chain synchronization has been restored everything is supposed to work just fine. But if the virtual disks were exposed to changes or were removed and then added again you'll have to go through one more editing process.
You'll need to edit .vmx configuration file in order to make a reference to the last snapshot in the chain.
- Find the SCSI controller related to the virtual disk to be restored.
- The first .vmdk is assigned to SCSI controller scsi0:0, the second one – to scsi0:1, the third one – to scsi0:2 and so on.
- Suppose we need to fix the third .vmdk. Find the section referencing scsi0:2. In the field scsi0:2.file name specify the actual location of the last child disk in the chain. Save changes and reboot the VM.
If the problem persists - you deal with serious corruption, and any further actions can lead to a complete data loss.
In this situation it's recommended to use VMFS Recovery™, featuring automated recovery process. It recovers data from healthy and corrupted virtual disk images used by VMware vSphere 5, ESX/ESXi VMware(R) ESX Server(tm), from damaged, inaccessible physical hard drives and RAID arrays without the original RAID controller.